Overview
In this lesson, you will learn about Potentiometer. Potentiometer is a resistor component with 3 terminals and its resistance value can be adjusted according to some regular variation.
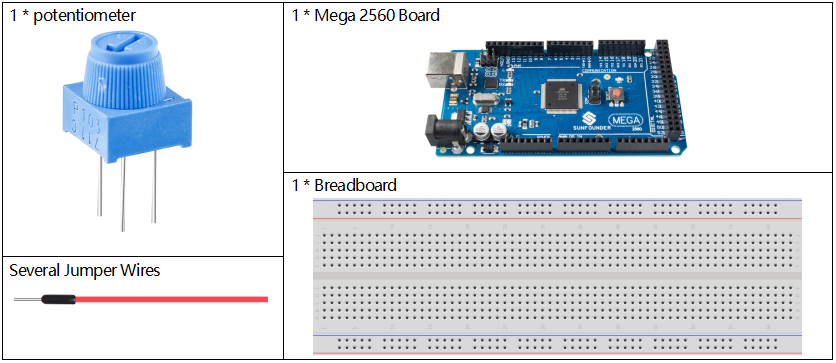
Components Required
Component Introduction
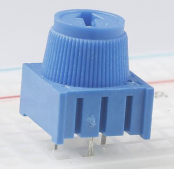
Potentiometer usually consists of resistor and movable brush. When the brush is moving along the resistor, there is a certain resistance or voltage output depending on the displacement.
The functions of the potentiometer in the circuit are as follows:
1. Serving as a voltage divider
Potentiometer is a continuously adjustable resistor. When you adjust the shaft or sliding handle of the potentiometer, the movable contact will slide on the resistor. At this point, a voltage can be output depending on the voltage applied onto the potentiometer and the angle the movable arm has rotated to or the distance it moves.
2. Serving as a rheostat
When the potentiometer is used as a rheostat, connect the middle pin and one of the other 2 pins in the circuit. Thus you can get a smoothly and continuously changed resistance value cused by moving contact.
3. Serving as a current controller
When the potentiometer acts as a current controller, the sliding contact terminal must be connected as one of the output terminals.
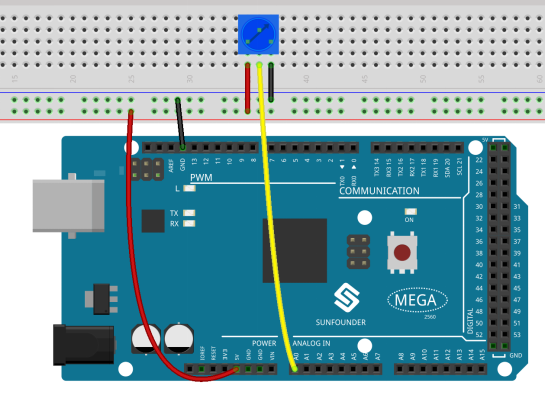
Fritzing Circuit
In this example, we use the analog pin (A0) to read the value of the potentiometer. By rotating the axis of the potentiometer, you can change the distribution of resistance among these three pins, changing the voltage on the middle pin. When the resistance between the middle and a outside pin connected to 5V is close to zero (and the resistance between the middle and the other outside pin is close to 10kΩ), the voltage at the middle pin is close to 5 V. The reverse operation (the resistance between the middle and a outside pin connected to 5V is close to 10kΩ) will make the voltage at the middle pin be close to 0V.
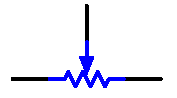
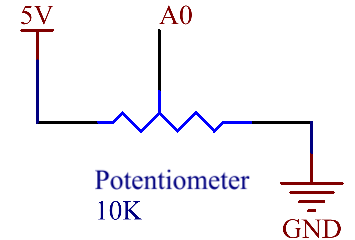
Schematic Diagram
Code
void setup() {
  Serial.begin(9600);
}

void loop() {
  int sensorValue = analogRead(A0);
  Serial.println(sensorValue);
  delay(1);
}
After uploading the codes to the Mega2560 board, you can open the serial monitor to see the reading value of the pin. When rotating the axis of the potentiometer, the serial port monitor will print the value 「0」~「1023」. For the detailed explanation of code, turn to check Part 1-1.5 Analog Read.
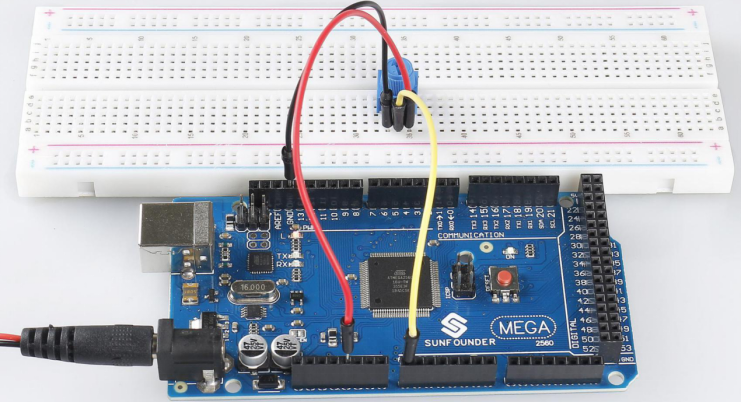
Phenomenon Picture