Introduction
An infrared-receiver is a component that receives infrared signals and can independently receive infrared ray and output signals compatible with TTL level. It’s similar with a normal plastic-packaged transistor in size and it is suitable for all kinds of infrared remote control and infrared transmission.
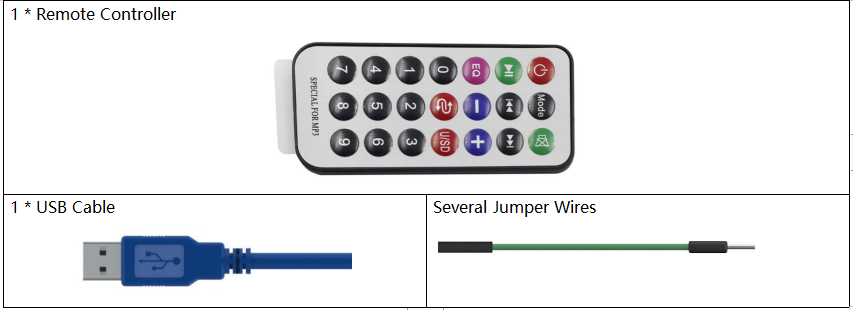
Components
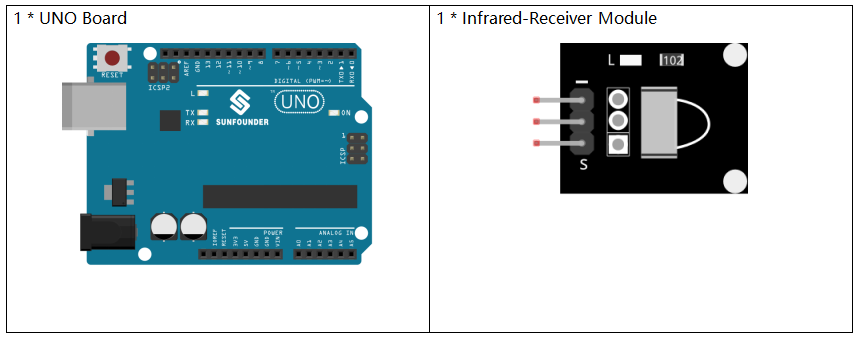
Schematic Diagram
Control a certain key (for example, Power key) via a remote controller by programming. When you press the key, infrared rays will be emitted from the remote controller and received by the infrared receiver, and the LED on the Uno board will light up.

Experimental Procedures
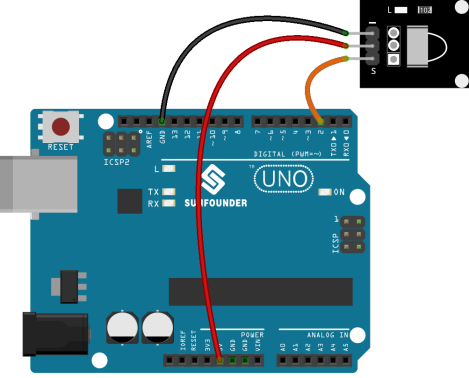
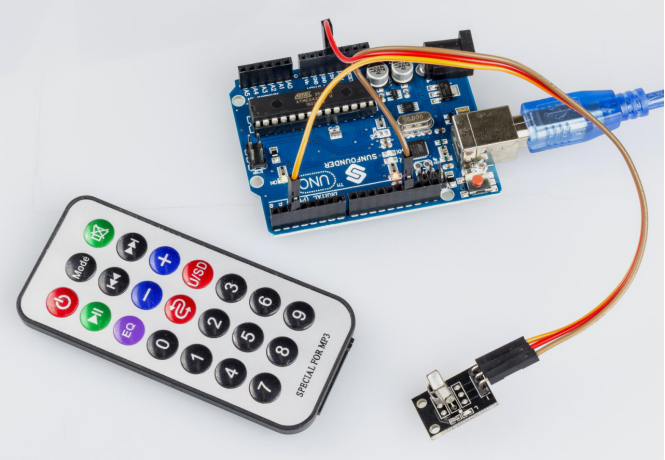
Step 1: Build the circuit.
Step 2: Open the code file.
Step 3: Select the Board and Port.
Step 4: Upload the sketch to the board.
Now, press Power on the remote control and the LED attached to pin 13 on the Uno board will light up. If you press other keys, the LED will go out.
Note:
- There is a transparent plastic piece at the back of the remote control to cut off the power and pull it out before you use the remote control.
- Please gently press the button on the remote to avoid invalid data FFFFFFFF.
Code Analysis
Code Analysis 16-1 Initialize the infrared-receiver
#include <IRremote.h>
const int irReceiverPin = 2; //the infrared-receiver attact to pin2
const int ledPin = 13; //built-in LED
IRrecv irrecv(irReceiverPin); //Initialize the infrared-receiver
decode_results results; //The decoding result is placed in the result of the decode results structure.
Code Analysis 16-2 Enable infrared-receiver
irrecv.enableIRIn(); //Restart the receiver
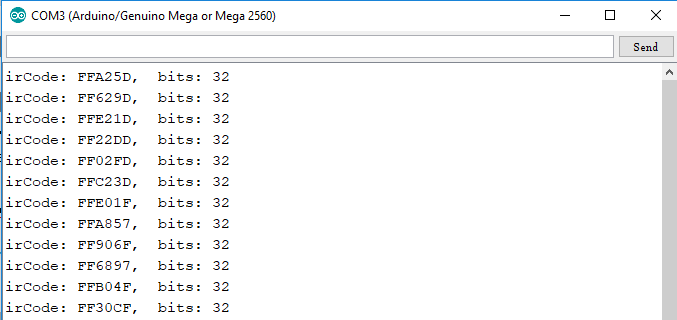
Code Analysis 16-3 Receive and print the data
if (irrecv.decode(&results)) { //If receive a data
decode(&results): Decodes the received IR message, returns 0 if no data ready, 1 if data ready. Results of decoding are stored in results
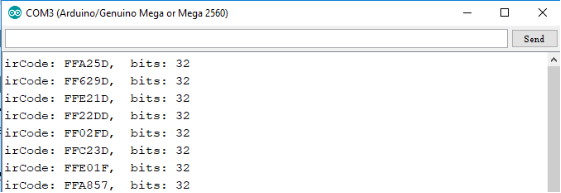
Serial.print(“irCode: “); //print “irCode: ” on the serial monitor
Serial.print(results.value, HEX); //print the signal on serial monitor in hexadecimal
Serial.print(“, bits: “);
Serial.println(results.bits); // Print the data bits
irrecv.resume(); //Receive next data
}
delay(600);
Code Analysis 16-4 If the power button is pressed
if(results.value == 0xFFA25D) // if the power button on the remote control is pressed
The 0xFFA25D is the code of the power button on the remote control, if you want to define other button, you can read the code of every button from the serial monitor.
{
digitalWrite(ledPin,HIGH); //Turn on the LED
}
else
{
digitalWrite(ledPin,LOW); //else turn of the LED