Introduction
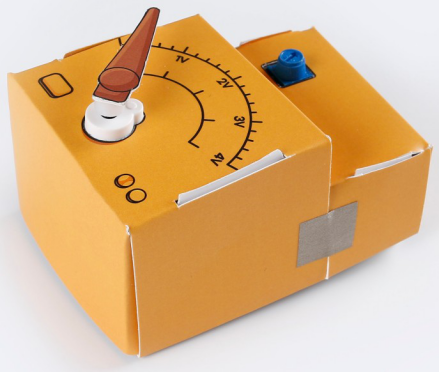
Using a cardboard to make a dial whose voltage ranges from 0 to 3.3V. The potentiometer works as an object to be measured, and it also can be replaced by other devices.
Components
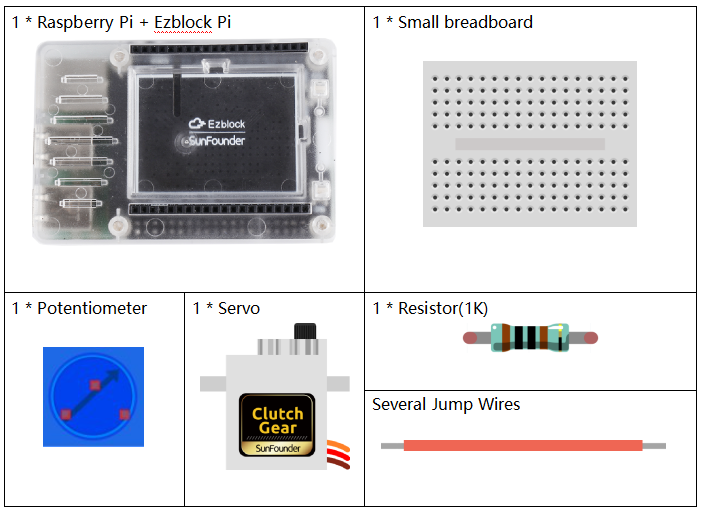
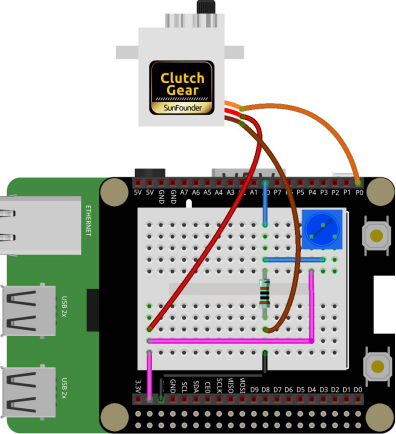
Circuit
Connect the yellow wire of servo to P0, the red to 3V3 and the rest to GND. The potentiometer is connected to A0 as a measured object. When the pointer of the potentiometer turns, the value of voltage displayed on the Debug Monitor changes.
Programming Steps
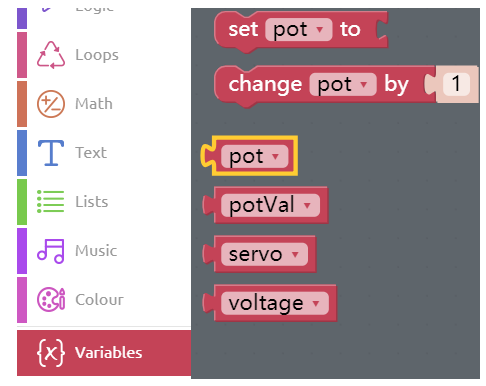
Step 1
Click on the button, Create variable to create 4 variables: pot, potVal, servo and voltage.
Step 2
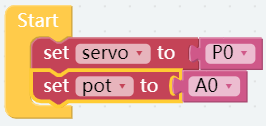
In the Start block, assign the value of the servo to P0 and that of the potentiometer to A0.
Step 3
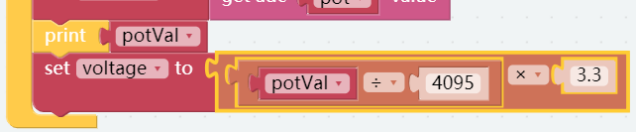
Get the value of the pot and then assign it to potVal; after that, print the value of the potentiometer on the debug monitor by using the print block.

Step 4
Place a set voltage to block under the print block. Click on the Math category and drag the Mathematical Operator block to the end of the set to block.

Step 5
Modify the Mathematical Operator block as shown below to convert the analog value to voltage.
Step 6
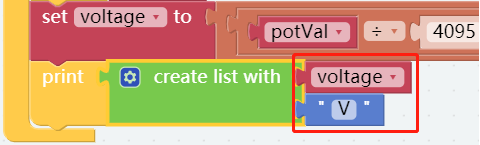
Print the voltage and its unit: V.
Step 7
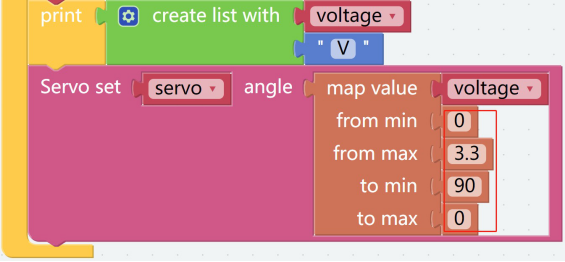
Find the Servo set angle block in Raspberry Pi category, then place it under the print block, and use the map block to map the voltage 0v-3.3v to angle 90-0 degree.
Step 8
Save the project and flash it into the Raspberry Pi (refer to lesson 0 for details). When the code is uploaded successfully, turn the potentiometer and you can see the servo rotate. By the way, you can also use other components as an object to be measured.
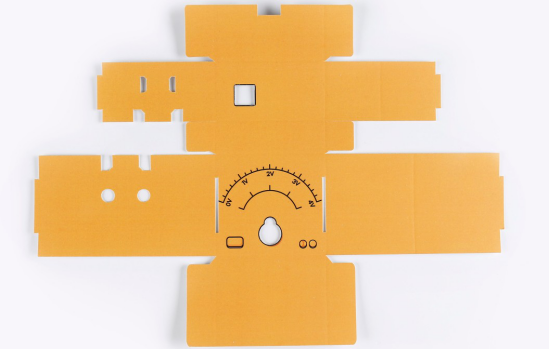
Fold Cardboard
Step 1
Take out the matching cardboard of this lesson.
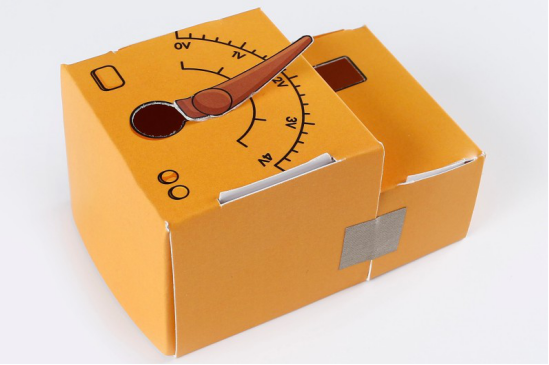
Step 2
Fold a cube like this, according to the creases. You need to use conductive tape to stick the high and low parts together.
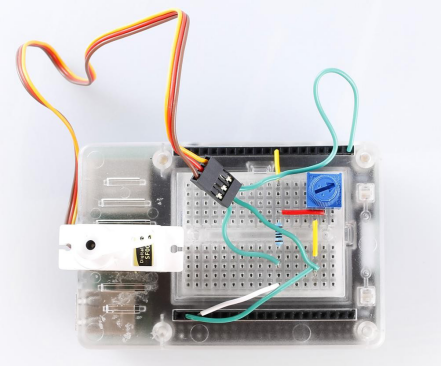
Step 3
Build the circuit according to the picture below. Please do NOT change the position of components optionally when building circuits, in case the card cannot be installed. You also need to stick the servo to the case by using double-sided tape.
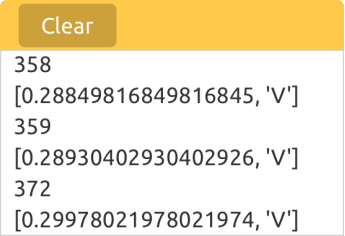
Step 4
Before installing the servo arm and the pointer of the pre-cut paper, please run the code and then adjust the potentiometer until the value on the display becomes the minimum as shown.
Step 5
Then install the cube of cardboard on the circuit as shown.
Note: Affix the pointer and have it point to 0 with double sided tape.