Step 1: Enable the I2C port of your Raspberry Pi (If you have done enabling, skip this. But if you’re not sure whether you have enabled it or not, please continue):
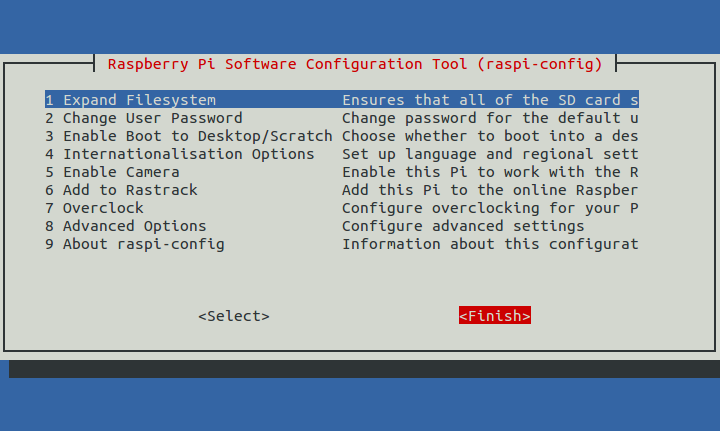
sudo raspi-config
8 Advanced options

A7 I2C
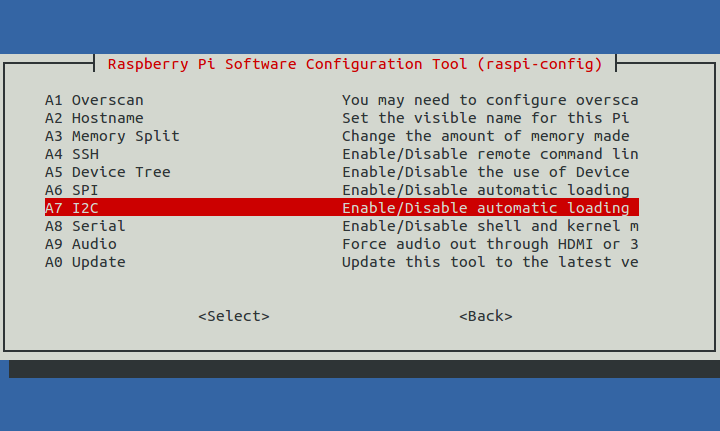
<Yes>
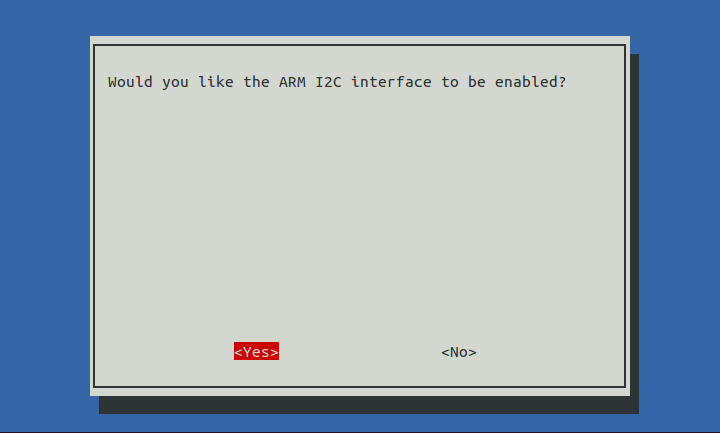
<Yes>
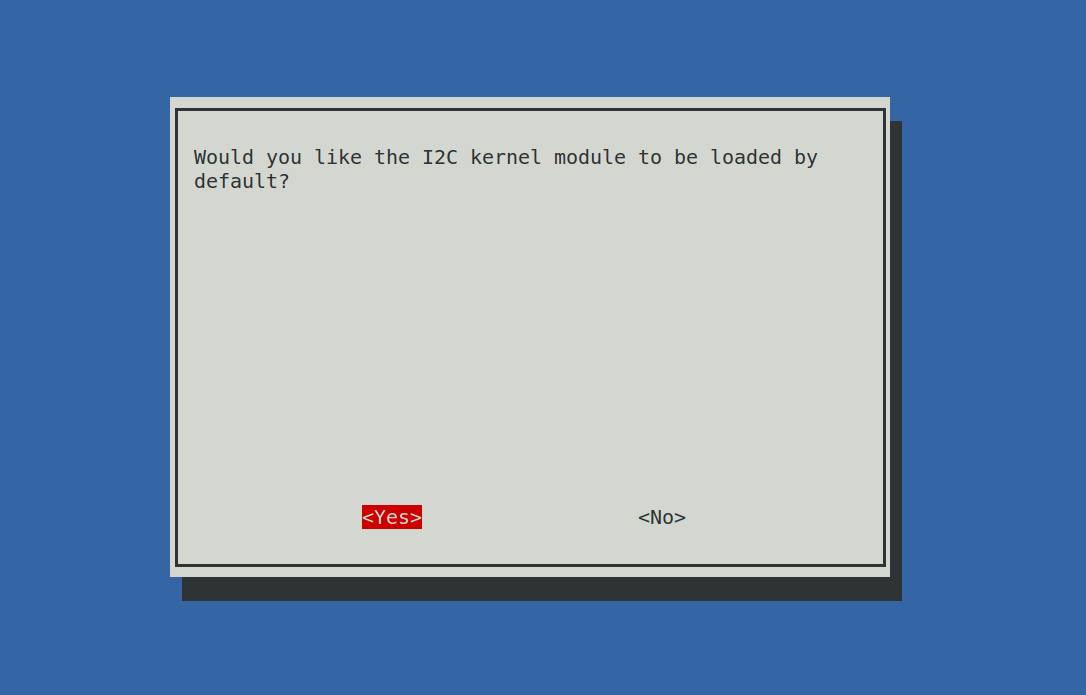
<Ok>
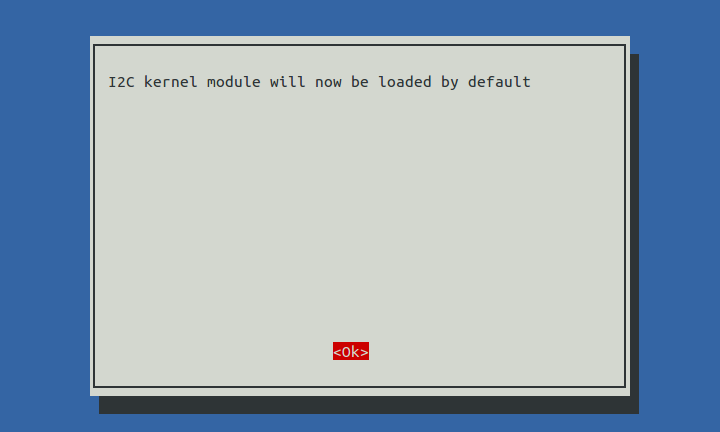
<Finish>
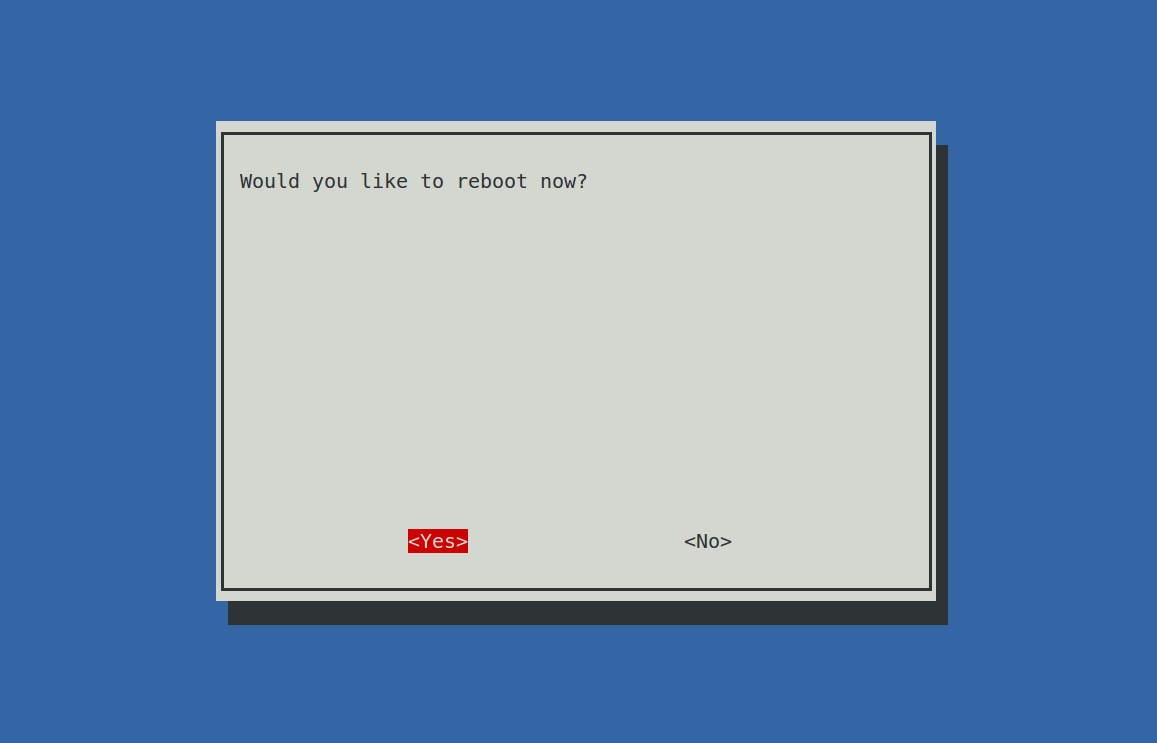
<Yes> (If you do not see this page, continue to the next step)
Step 2: Check that the i2c modules are loaded and active:
lsmod | grep i2c
Then the following code will appear (the number may be different)
i2c_dev 6276 0
i2c_bcm2708 4121 0
Step 3: Install i2c-tools
sudo apt-get install i2c-tools
Step 4: Check the address of the I2C device:
i2cdetect -y 1      # For Raspberry Pi 2

i2cdetect -y 0      # For Raspberry Pi 1

pi@raspberrypi ~ $ i2cdetect -y 1

     0  1  2  3   4  5  6  7  8  9   a  b  c  d  e  f

00:           -- -- -- -- -- -- -- -- -- -- -- -- --

10: -- -- -- -- -- -- -- -- -- -- -- -- -- -- -- --

20: -- -- -- -- -- -- -- -- -- -- -- -- -- -- -- --

30: -- -- -- -- -- -- -- -- -- -- -- -- -- -- -- --

40: -- -- -- -- -- -- -- -- 48 -- -- -- -- -- -- --

50: -- -- -- -- -- -- -- -- -- -- -- -- -- -- -- --

60: -- -- -- -- -- -- -- -- -- -- -- -- -- -- -- --

70: -- -- -- -- -- -- -- --
If there’s an I2C device connected, the results will be similar as shown above – since the address of the device is 0x48, 48 is printed.
Step 5:
For C language users: Install libi2c-dev
sudo apt-get install libi2c-dev
For Python users: Install smbus for I2C
sudo apt-get install python-smbus
