Introduction
There are 10 digital pins(D0~D9) on the Raspberry Pi that are used to input or output 0 or 1. In this lesson, we will use the digital pins to make a simple lamp. When we press the button, the light turns on. Let’s begin!
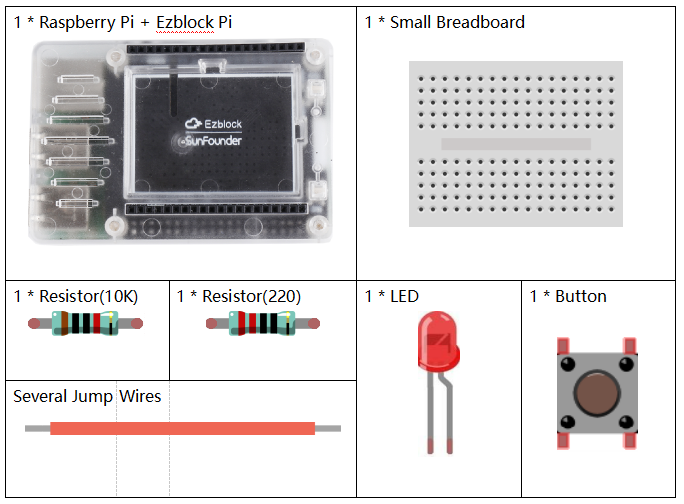
Components
![]()
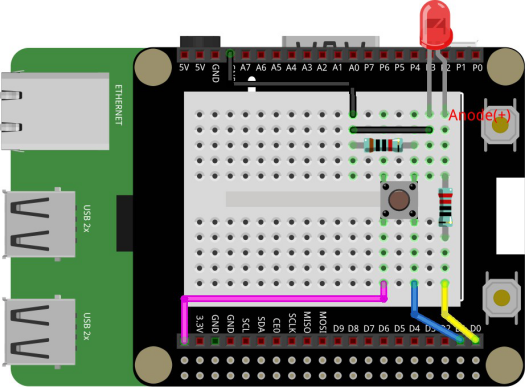
![]() Circuit
Circuit
Connected to a 220 ohm resistor, the LED is attached to D0. And connect button to D1. After flashing the project, you can see the LED lights on when you press the button.
Note: The long pin of LED is anode.
Programming Steps
Step 1
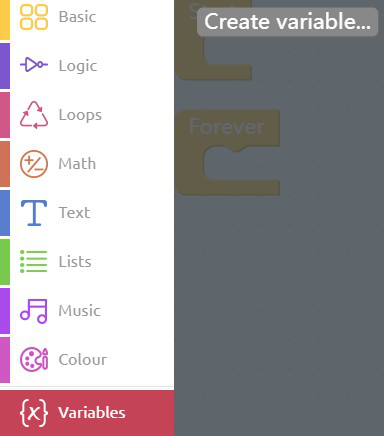
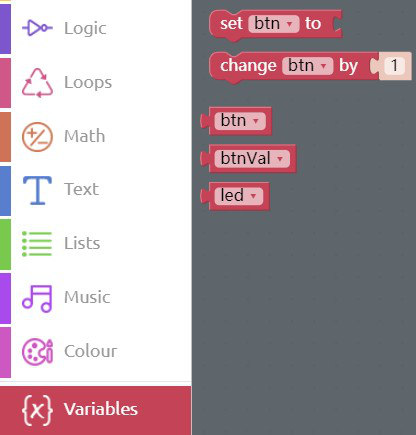
After creating the new project, you need to create variables to store the values of pins and define them. Click the button, Create variable in the Variables category.
Step 2
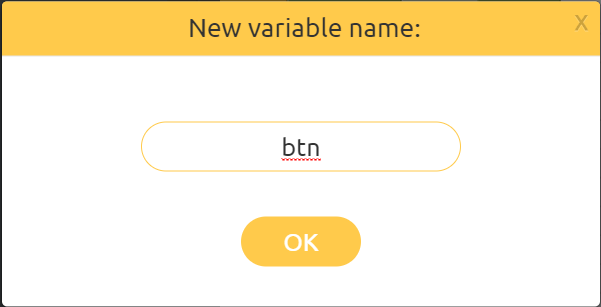
Input the name of variable: btn.
Step 3
Repeat the step1 and step2 to create other 2 variables: btnVal and led.
Step 4
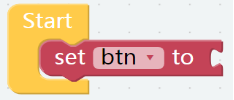
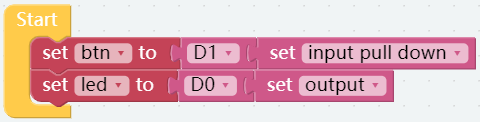
Drag out the set btn to block from Variables category into the Start block.
Step 5
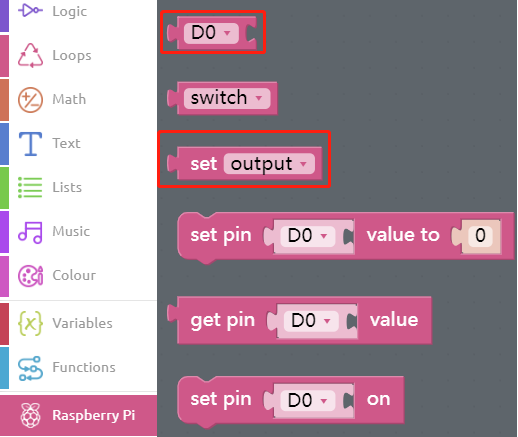
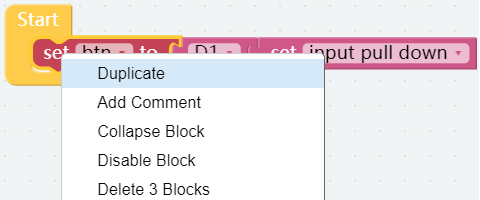
Click the Raspberry Pi category to find the D0 block and set output block, then put them behind the set btn to block. Click the inverted triangle of the block to change value. Set the D1 to input pull down mode.
The combined blocks are as follows:

Step 6
Long Press the set btn to block and then click Duplicate to copy a same combine block.
Step 7
Convert the variables as below:
Step 8
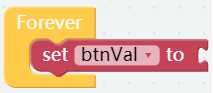
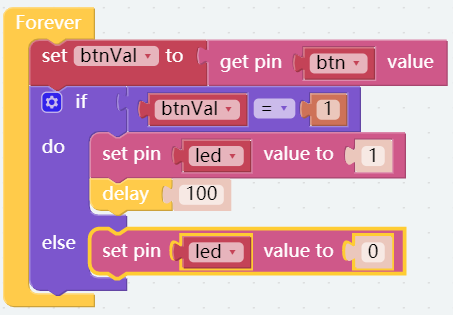
Drag the set btn to block from the Variable category into the Forever block and change btn into btnVal.
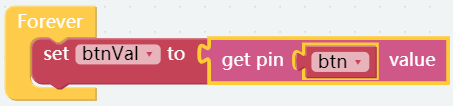
Step 9
Under the Raspberry Pi category, drag a get pin D0 value block to behind the set btnVal to block. Next, get a btn block from the Variable category and put it into the the slot of pin.
Step 10
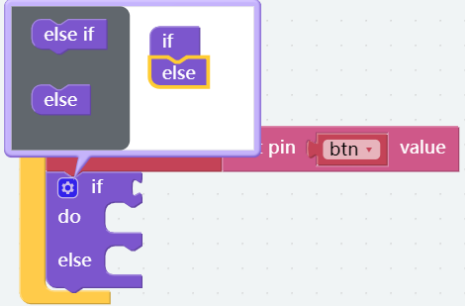
Click the Logic category and find the if do block and place it below the set btnVal to block.
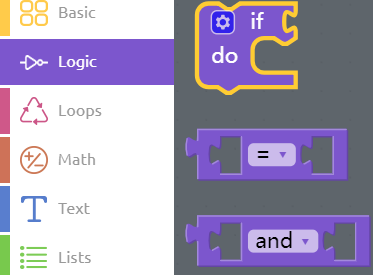
Step 11
Then click the setting icon, dragging an else block below the if block. So, you will find if do block changes into if do else block.
Note: Click the setting icon again to fold the pop-up.
Step 12
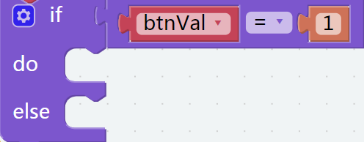
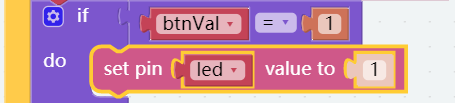
Under the Logic category, add a Comparison Operator ( = ) block behind the if block. Then put a btnVal block and a number 0 block into the Comparison Operator ( = ) block. In addition, change 0 to 1 to check if the button is pressed.
Step 13
In the Raspberry Pi category, you can find the set pin D0 value to block, then put it behind the do; change 0 to 1 and put the led block to the the slot of pin. This combined block is used to set the variable led to a high level used to illuminate the LED.
Step 14
Click the Basic category to find the delay block. And drag it below the set pin led value to block to keep the LED light for 100ms.
Step 15
Similarly, put the set pin led value to block into the else to turn off the LED.
Step 16
So that’s the end of our project. Save the project and flash it into the Raspberry Pi (refer to lesson 0 for details). When the button is pressed, the light will be on; otherwise, the light will be off.