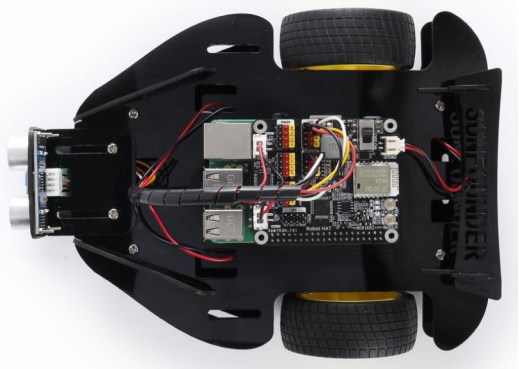
Are you excited when you open the box and see so many components? Keep your patience and take it easy. Please note that some details in the following steps need careful observation. You should double-check your work based on the figures in the manual after finishing each step. Don’t worry! Kindly reminders will be given in some particular steps. Just follow the tutorials step by step. Okay, guys, let’s start!
Chassis
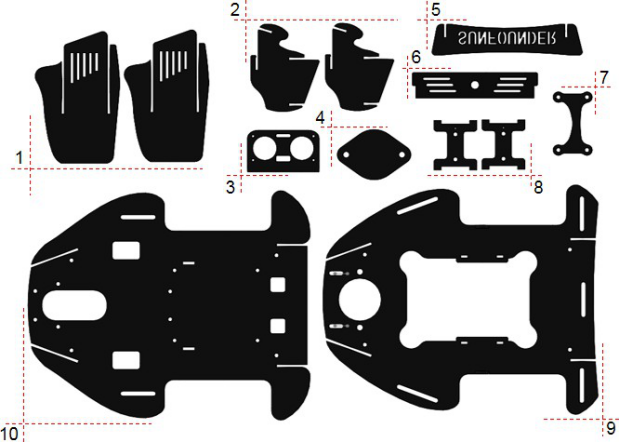
- Front Side Plate x 2
- Rear Pate x 2
- Ultrasonic Sensor Mounting Bracket
- Universal Wheel Gasket
- Spoiler
- Rear Horizontal Plate x 1
- Line follower Module Holder Plate x 1
- Support Plate x 2
- Upper Plate x 1
- Bottom Plate x 1
![]() Assemble Rear Wheel Motor (drive)
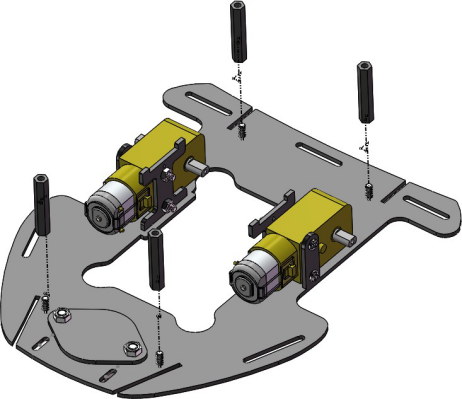
Assemble Rear Wheel Motor (drive)
- Insert two support plates into the bottom plate of the car. Note: the triangle on the support plates need to point up.
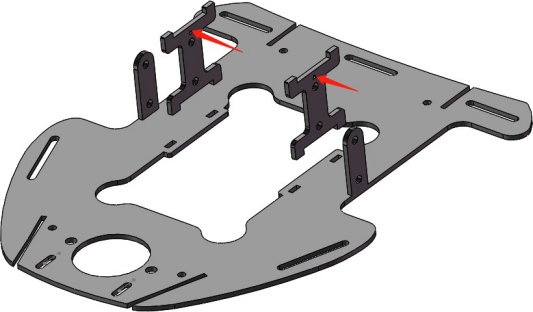
2. After assembly, it is shown as below:

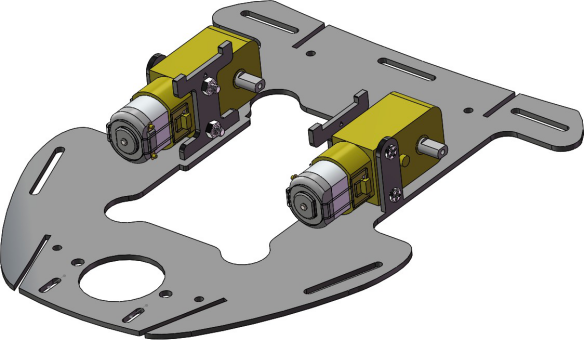
3. Assemble the two motors with four M3x28 screws and M3 nuts. Note: Pay attention to place the motors with wires inward, providing convenience for connecting the circuit.
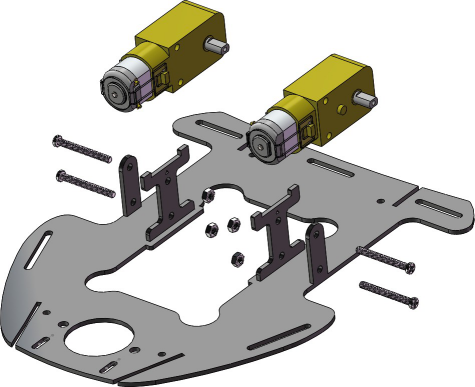
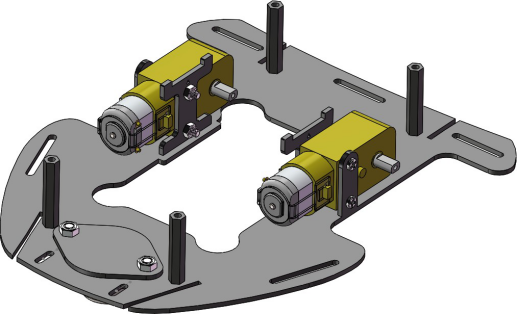
4. After assembly, it is shown as below:
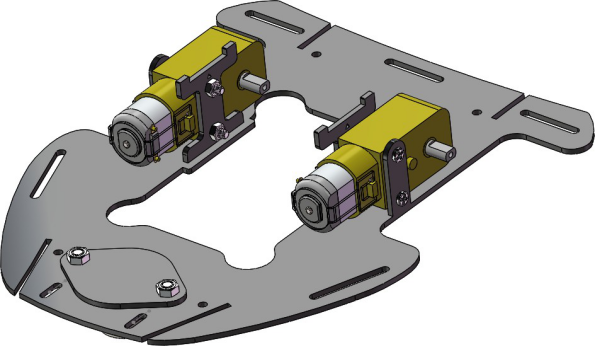
Assemble the Universal Wheel (front wheel)
- Fasten the universal wheel gasket and universal wheel with M3x8 screws and M3 nuts.
2. After assembly, it is shown as below:
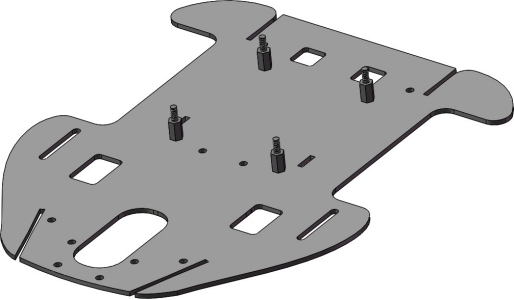
Assemble the Upper Plate
- Assemble the M2.5×8+6mmsingle-passnyloncolumnsand M2.5x6screwson the upper plate.
2. After assembly, it is shown as below:
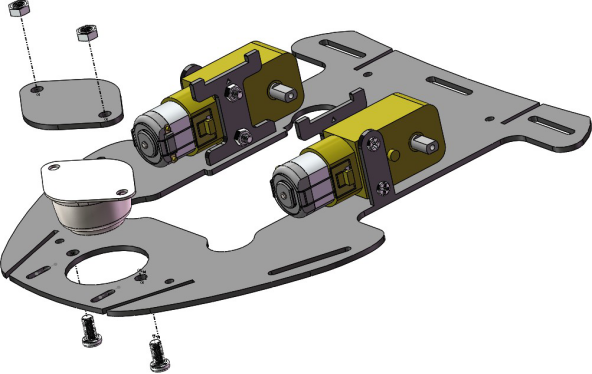
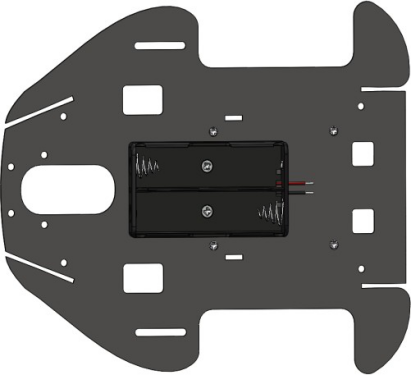
Assemble the Battery Holder
Get a battery holder and put it on the other side of the nylon column on the upper plate of the car and fasten it with the M3x8 countersunk screws and M3x8nuts.
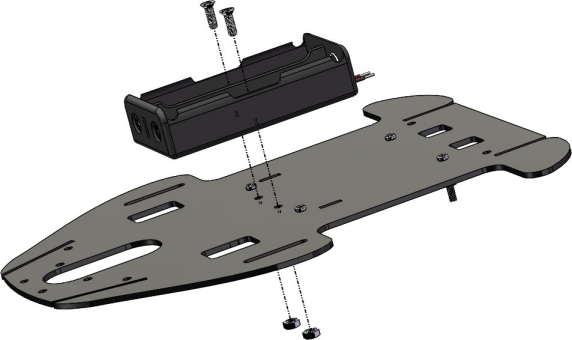
2. After assembly, it is shown as below:
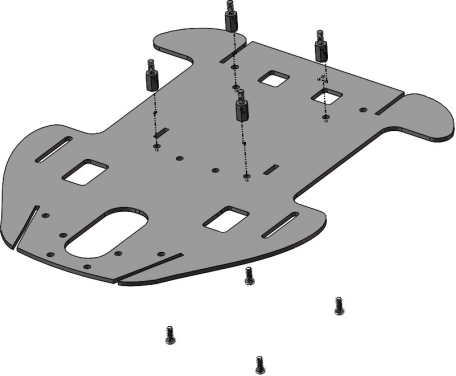
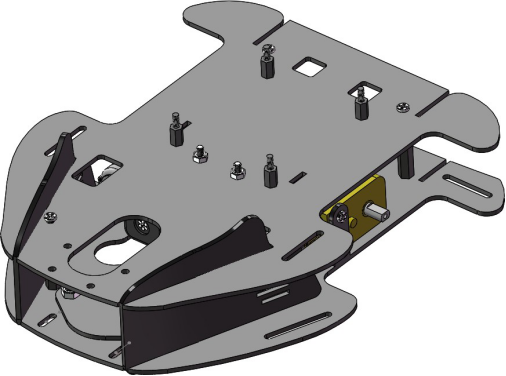
Assemble the Upper Plate and the Bottom Plate
Mount four M3x30 double-pass nylon columns on the motor side of the bottom plate, and fasten them with M3x8screws.
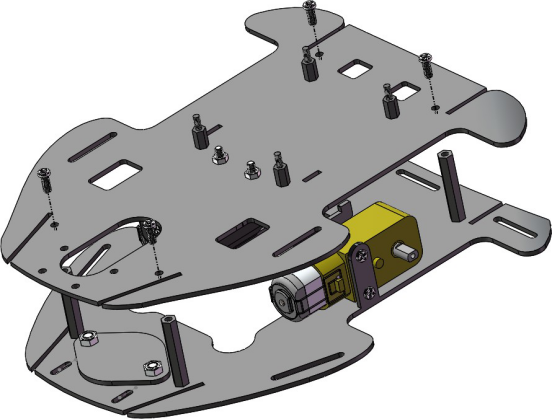
2. After assembly, the assembly is shown as below:
3. Assemble the upper and the bottom plates of the car with M3x8screws.
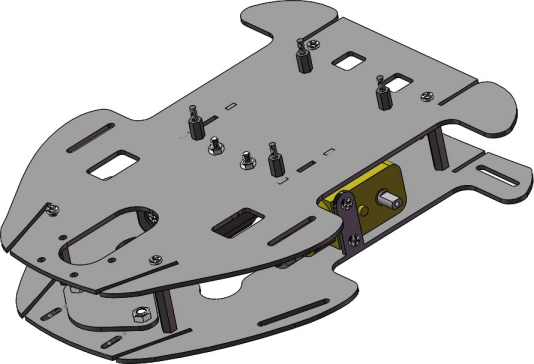
4.After assembly, it is shown as follows:
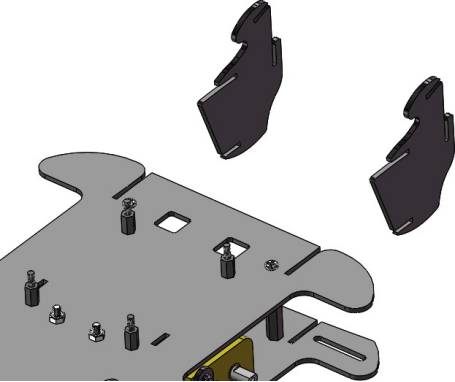
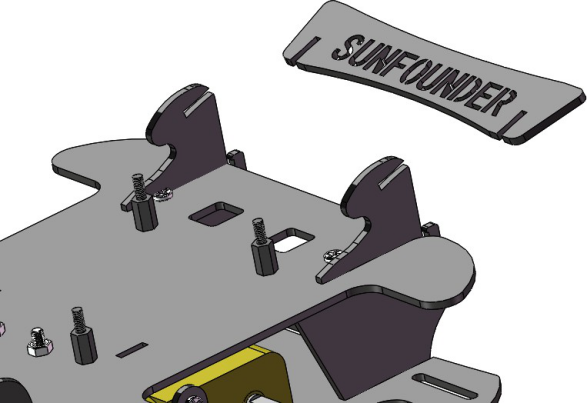
Assemble the Front Side Plate
- Take out two front side plates and insert them into the slot on each side respectively.
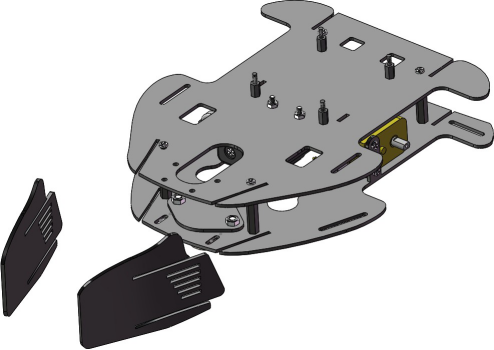
2. If you assemble all parts correctly, you will have them be like this picture below.
Assemble the Rear Plate
- Find the rear plates in the package and insert them into the slot as shown.
2. Then insert the rear horizontalplate.
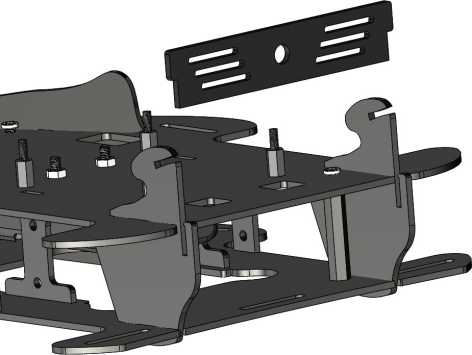
3. And insert the spoiler into the position shown.
4. The final assembly is shown in the figure below.
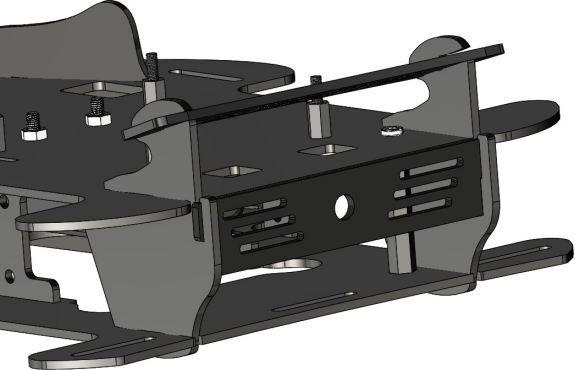
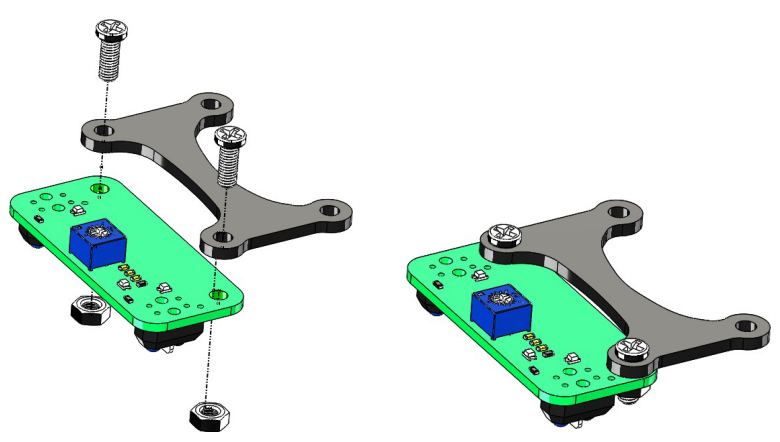
Assemble the Line Follower Module
- Take out the line follower module and the line follower module holder plate, and fasten them with the M3x8 screws and M3nuts.
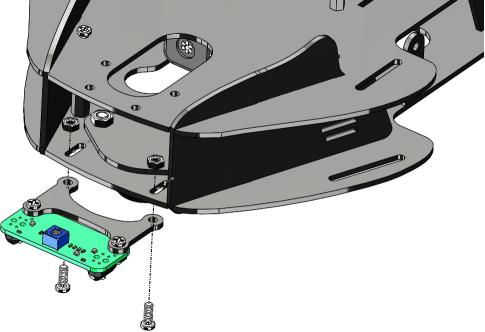
2. According to the position shown, the assembled plate is mounted to the front of the car with M3x8 screws and M3nuts.
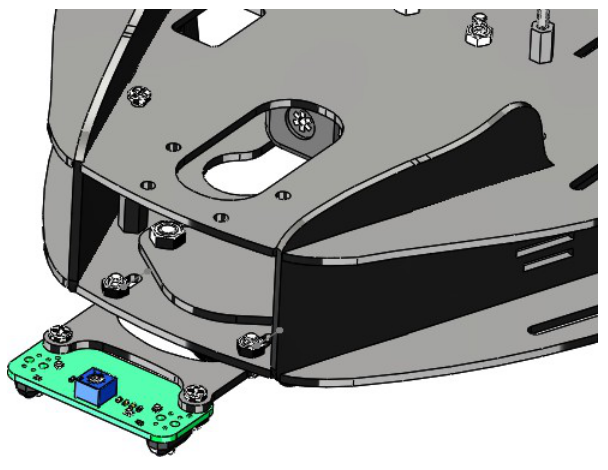
3. After assembly, it is shown as follows:
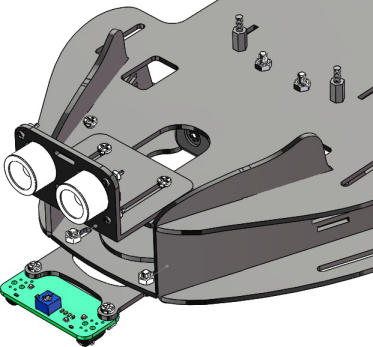
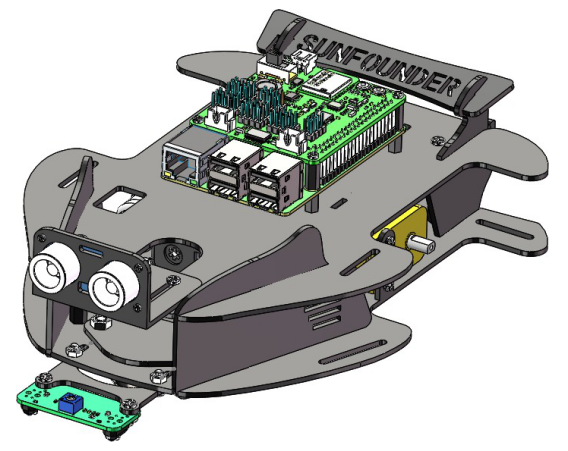
![]() Assemble the Ultrasonic Module
Assemble the Ultrasonic Module
- Assemble ultrasonic module and ultrasonic sensor mounting bracket with M1.4×8 screws and M1.4nuts.
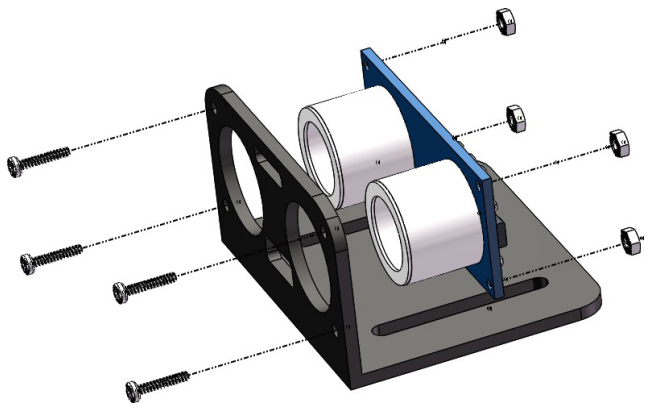
2.Fasten the assembled plate to the upper plate with M3x8 screws and M3 nuts.
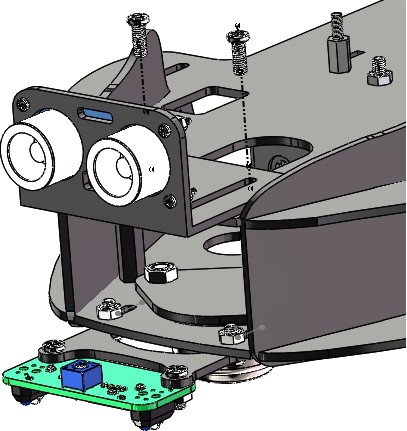
3. Then you can get the assembly as shown.
Mount the Raspberry Pi+Robot HAT
- Use the M2.5x11mm black double-pass nylon column to mount the Raspberry Pi to the upper plate.
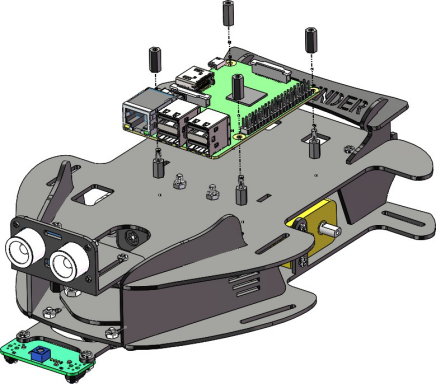
2. Plug the Robot HAT into the Raspberry Pi, and then fasten them with M2.5*6 screws.
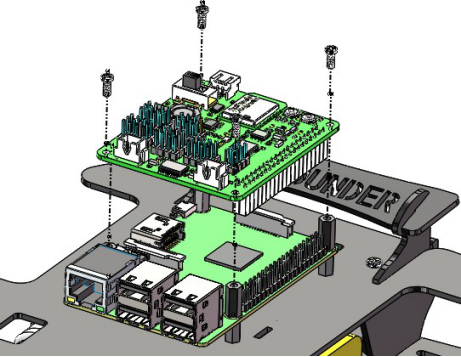
3. The final assembly picture is as follows.
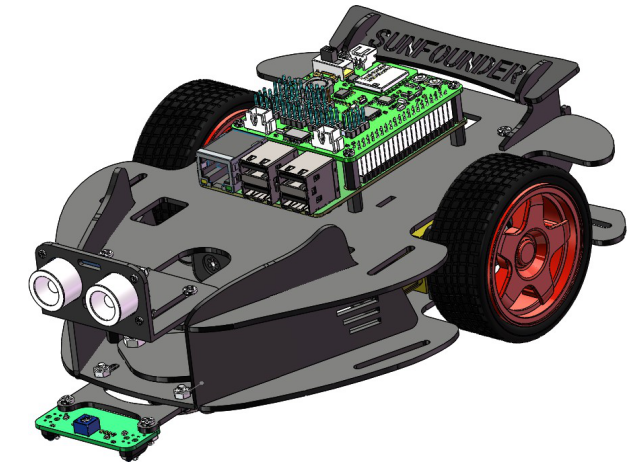
![]() Insert the Wheels
Insert the Wheels
Finally, insert the wheels on the shaft.
![]() Connect the Motor and Battery Holder
Connect the Motor and Battery Holder
- Get the motor wire and battery holder connected. Note: the motor wires on the left and right should be connected correctly.
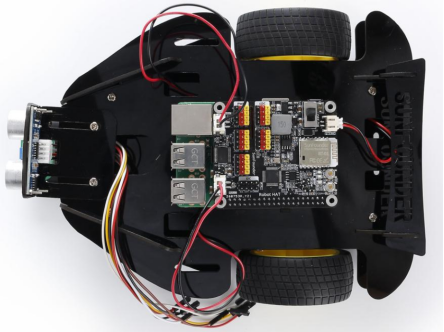
2. Connect the line follower module and Robot HAT as shown below.
| Line Follower Module | Robot HAT |
| SIG1 | A1 |
| SIG2 | A0 |
| 3V3 | 3.3V |
| GND | GND |
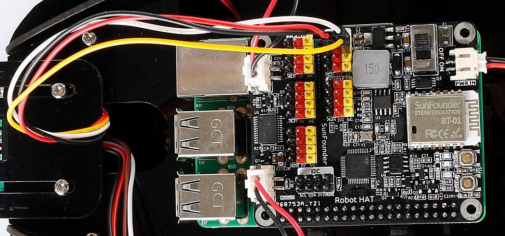
3. Connect the Ultrasonic module and Robot HAT as shown below.
| Ultrasonic module | Robot HAT |
| TRIG | D0 |
| ECHO | D1 |
| VCC | 3.3V |
| GND | GND |
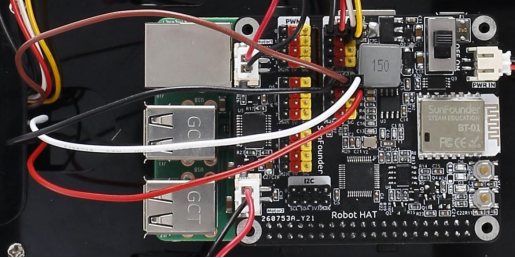
4. Use Spiral Wire Wrap to fix the messy wires.