P1 Battery
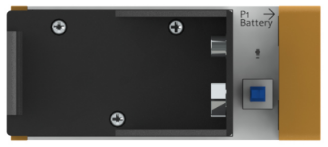
Use a 9-Volt battery for power supply. Pay attention not to place the battery inversely.
Whenever you want to connect the blocks, the power supply module is necessary.
Press down the button switch and the LED onside will light up.
Switch it off when not in use to save the battery.
P2 Mini USB
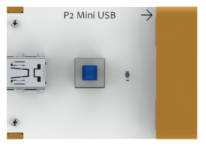
Use a USB cable to connect a power supply.
The power block is always necessary when you connect the blocks.
Connect the P2 block to your computer, mobile phone charger or mobile power via a USB cable. Press down the button switch on the P2 and the LED on P2 Mini USB will light up.
Switch it off when not in use and remove the cable.
I1 Slide Pot
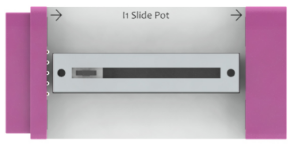
There is a slider on I1. Drag or pull it to output signals.
Drag the slider to far left and it will output 0.
The output will increase gradually when you pull it right.
When the slider reaches the rightmost side, It will output 100.
I2 Mic
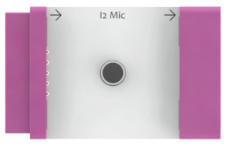
Just like common microphones, I2 Mic outputs the sound level.
When you gently speak to it, I2 Mic will output small-value signals.
When you shout at it, it will output great-value signals.
If you play music, it will output signals of different values continuously.
I3 Light Sensor
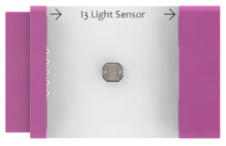
Light Sensor, like our eyes, is sensitive to light.
The brighter the environment is, the greater-value signals it will output.
You can place it in a bright environment. Cover the block with your palm or some other thing to observe the change of the output block that comes after.
I4 Ranging
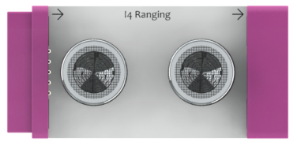
I4 Ranging can detect the distance to the obstacle over it. Put your hand over it, and then approach it or move away to observe the output changes.
The closer the obstacle is, the greater-value signals it will output.
C1 Inverter
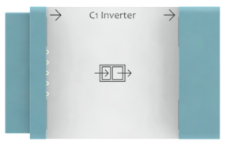
Inverter is an interesting converter, which always inverts signals before outputting them.
It outputs the result by subtracting the input signal from 100.
Thus, if the input is 0, it outputs 100;
If 1, 99
If 2, 98.
…
If 100, 0
C2 Oscillator
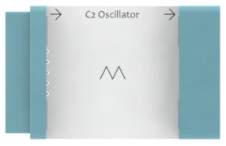
Oscillator is a converter that is a little complicated.
It outputs signals from 0 to 100, and then 100 to 0, and repeat this cycle. We call them oscillation signals.
If the input signal is very small, the oscillation signals it output oscillate slowly.
As the input signal increases, the oscillation signals it output oscillate faster.
The best way to know oscillator well is to try it yourself!
Even when the input signal is 0, it will output oscillation signals.
C3 SunFounder Leonardo
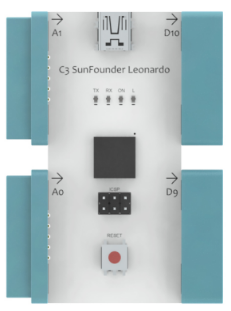
Yes, this is the popular Arduino.
It is redesigned to be more suitable for EC-Block.
If you are new to Arduino, follow us to witness its great charm!
If you know it well, you can get rid of the trouble of wiring now! With the electrical properties specified by EC-Block, you will find using Arduino has never been so easy.
Through programming, SunFounder Leonardo can transform and process signals freely.
More details will be given later.
O1 LED
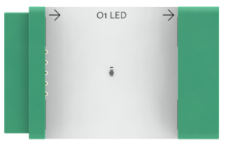
You can change the brightness of the LED.
The greater-value the input signal is, the LED will get brighter.
O2 LED Bar Graph
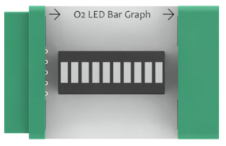
There are 10 LEDs on O2 LED Bar Graph.
The greater the value of the input signal is, the more LEDs will be lit.
The LEDs light up from left to right. As the value of the signal increases, more and more LED will light up from left to right.
O5 LED Ring
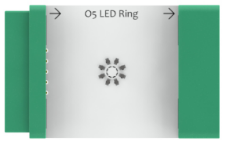
There are 8 LEDs on O5 LED Ring.
When working, it will form an effect similar to LED light rotation.
The greater the value of the input signal is, the faster it rotates.
Even when the input signal is 0, the LED still rotates.
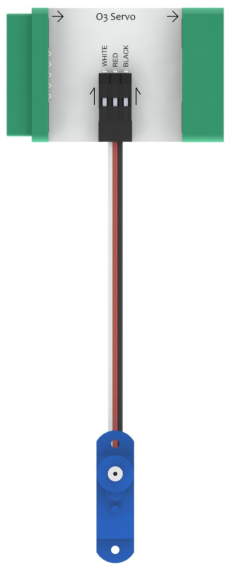
O3 Servo

It can connect with a servo.
The rocker arm of the servo can rotate to different angles depending on input signals.
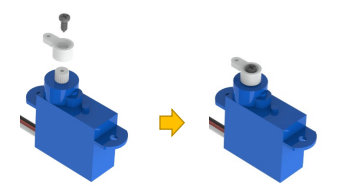
The servo comes with three screws. The shorter one is used to fix the rocker arm of the servo to the output shaft of the servo. The longer two are to fix the servo to a position as you want.

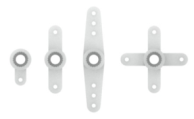
Below are the rocker arms. They can be installed to the servo with screws.
As shown in the right picture, wire the servo to the servo block. Pay attention to the wiring. The color of the wire is marked at the connection point.
Fix the rocker arms of the servo to the output shaft of the servo:
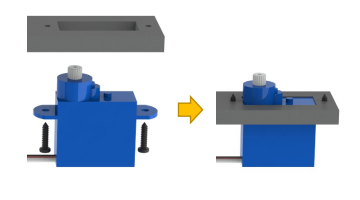
Fix the servo to the plate:
(The plate is not included in the kit. You may need to make one by yourself.)
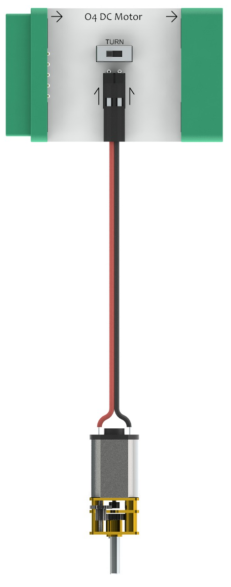
O4 DC Motor

It can connect a DC motor.
The rotation speed of the DC motor depends on input signals.
There is a switch used to change the rotational direction of the motor.
If the input value is smaller than 20, the DC motor may not rotate.
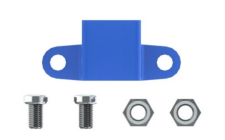
The DC motor package comes with a holder, screws, and nuts, with which you can fix the DC motor to any place as you want.
As shown in the right picture, wire the DC motor to O4 DC Motor block. The connection of the two wires does not matter.
Fix the DC motor to the plate:
(The plate is not included in the kit. You may need to make one by yourself.)
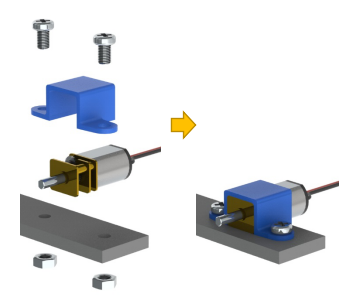
Assemble the propeller and connectors, and then connect them with the shaft of the motor.
