Introduction
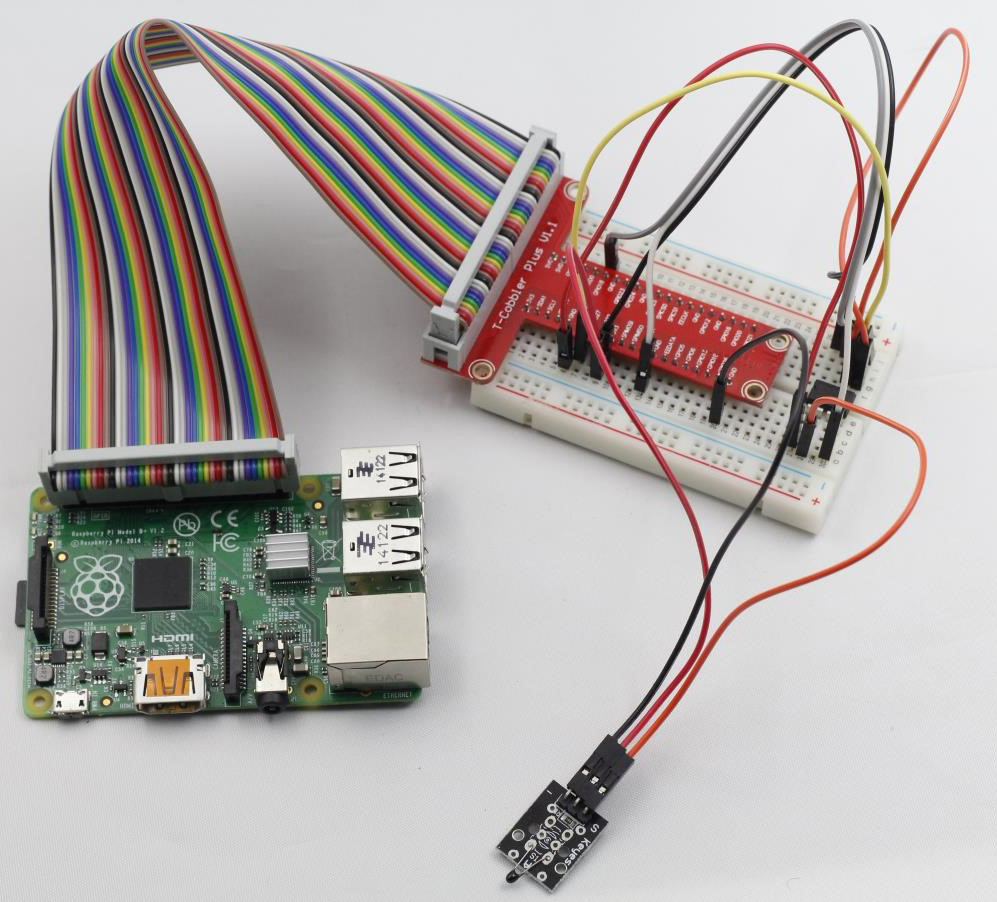
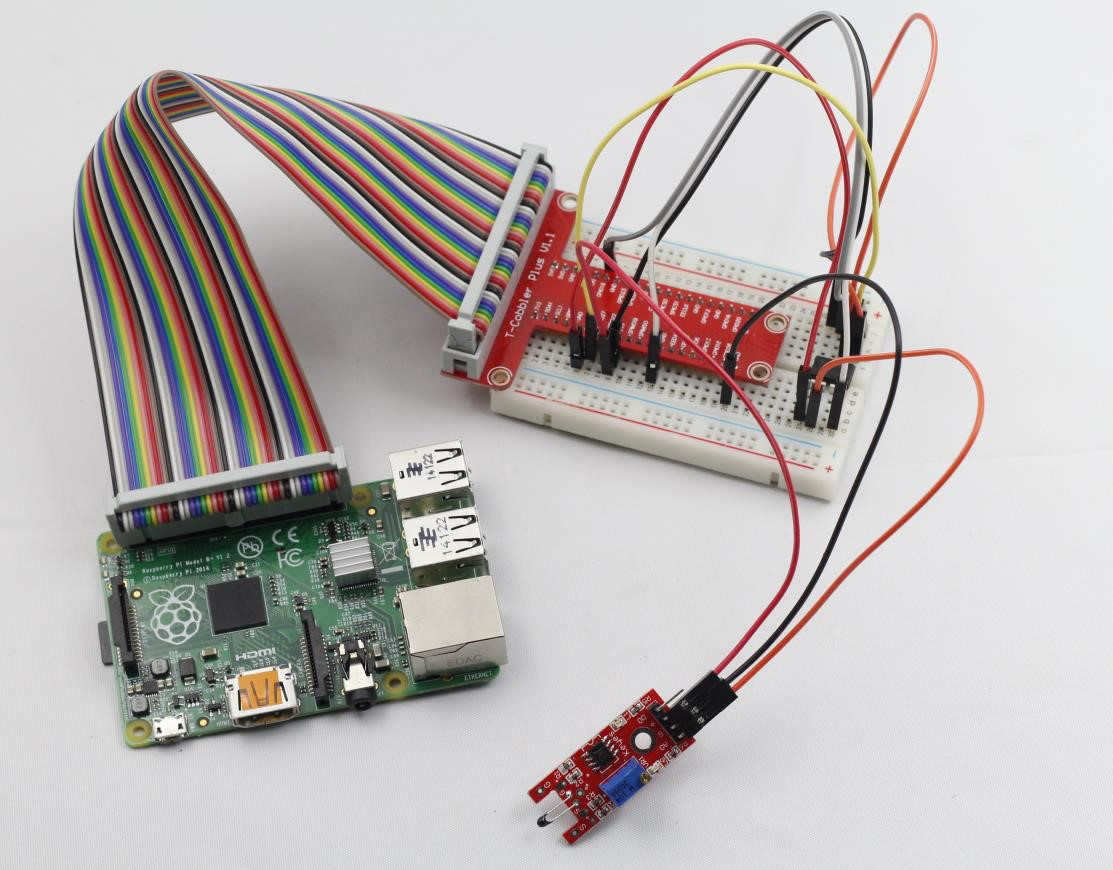
Analog-temperature sensors are a type of devices to detect temperature changes. Their core component is a thermistor. There are two kinds of analog-temperature sensors in this kit (as shown below). In this lesson, we take the left one (try to use the other sensor yourself!).

Components
– 1 * Raspberry Pi
– 1 * Breadboard
– 1 * Network cable (or USB wireless network adapter)
– 1 * Analog-temperature Sensor module
– 1 * ADC0832
– Several jumper wires
Experimental Principle
This module is developed based on the principle of thermistor, whose resistance varies significantly with ambient temperature changes. When the temperature increases, the resistance decreases; when the temperature decreases, the resistance increases. It can detect surrounding temperature changes in real time.
In this experiment, we need to use an analog-digital converter ADC0832 to convert analog signals into digital ones.
Experimental Procedures
Step 1: Build the circuit

Analog-temperature Sensor ADC0832
S ——————————————— CH0
+ ——————————————— 3.3V
– ——————————————– GND
Step 2: Edit and save the code (see path/Rpi_SensorKit_code/11_analogTempSensor/ analogTempSensor.c)
Step 3: Compile
gcc analogTempSensor.c -lwiringPi
Step 4: Run
./a.out
Now, touch the thermistor on the module and you can see the current temperature value is displayed on the screen and changes accordingly.

Compared with the black module on the left side in Introduction, the red one on the right only adds a digital output. You can adjust the threshold by the potentiometer on the module. When the output is higher than the threshold, the sensor will output HIGH; when it is lower than the threshold, the sensor will output LOW.

analogTempSensor.c
#include <wiringPi.h>
#include <stdio.h>
#include <math.h>

typedef unsigned char uchar;
typedef unsigned int uint;

#define     ADC_CS    0
#define     ADC_CLK   1
#define     ADC_DIO   2

uchar get_ADC_Result(void)
{
	uchar i;
	uchar dat1=0, dat2=0;

	digitalWrite(ADC_CS, 0);
	digitalWrite(ADC_CLK,0);
	digitalWrite(ADC_DIO,1);	delayMicroseconds(2);
	digitalWrite(ADC_CLK,1);	delayMicroseconds(2);

	digitalWrite(ADC_CLK,0);
	digitalWrite(ADC_DIO,1);    delayMicroseconds(2);
	digitalWrite(ADC_CLK,1);	delayMicroseconds(2);

	digitalWrite(ADC_CLK,0);
	digitalWrite(ADC_DIO,0);	delayMicroseconds(2);
	digitalWrite(ADC_CLK,1);
	digitalWrite(ADC_DIO,1);    delayMicroseconds(2);
	digitalWrite(ADC_CLK,0);
	digitalWrite(ADC_DIO,1);    delayMicroseconds(2);

	for(i=0;i<8;i++)
	{
		digitalWrite(ADC_CLK,1);	delayMicroseconds(2);
		digitalWrite(ADC_CLK,0);    delayMicroseconds(2);

		pinMode(ADC_DIO, INPUT);
		dat1=dat1<<1 | digitalRead(ADC_DIO);
	}

	for(i=0;i<8;i++)
	{
		dat2 = dat2 | ((uchar)(digitalRead(ADC_DIO))<<i);
		digitalWrite(ADC_CLK,1); 	delayMicroseconds(2);
		digitalWrite(ADC_CLK,0);    delayMicroseconds(2);
	}

	digitalWrite(ADC_CS,1);

	return(dat1==dat2) ? dat1 : 0;
}

int main(void)
{
	uchar analogVal;
	double Vr, Rt, temp;

	if(wiringPiSetup() == -1){ //when initialize wiring failed,print messageto screen
		printf("setup wiringPi failed !");
		return 1;
	}

	pinMode(ADC_CS,  OUTPUT);
	pinMode(ADC_CLK, OUTPUT);

	while(1){
		pinMode(ADC_DIO, OUTPUT);

		analogVal = get_ADC_Result();
		Vr = 5 * (double)(analogVal) / 255;
		Rt = 10000 * (double)(Vr) / (5 - (double)(Vr));
		temp = 1 / (((log(Rt/10000)) / 3950)+(1 / (273.15 + 25)));
		temp = temp - 273.15;
		printf("Current temperature : %d C\n", temp);
		delay(500);
	}

	return 0;
}
Python Code
#!/usr/bin/env python
import ADC0832
import time
import math

def init():
	ADC0832.setup()

def loop():
	while True:
		analogVal = ADC0832.getResult()
		Vr = 5 * float(analogVal) / 255
		Rt = 10000 * Vr / (5 - Vr)
		temp = 1/(((math.log(Rt / 10000)) / 3950) + (1 / (273.15+25)))
		temp = temp - 273.15
		print 'temperature = %d C' % temp
		time.sleep(0.2)

if __name__ == '__main__':
	init()
	try:
		loop()
	except KeyboardInterrupt:
		ADC0832.destroy()
		print 'The end !'