Introduction
In this lesson, we use a photoresistor to control the light to turn on in dark environments automatically.
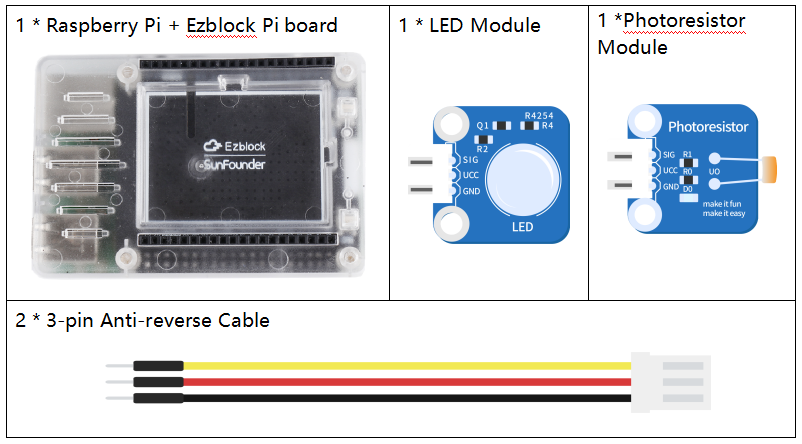
Components
Programming Steps
Step 1
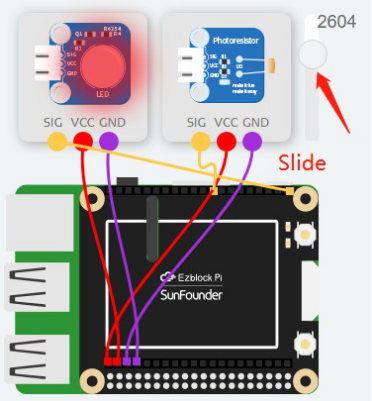
After creating a new project, click on the Simulation icon on the left side of the page to enter the Simulation page.

Step 2
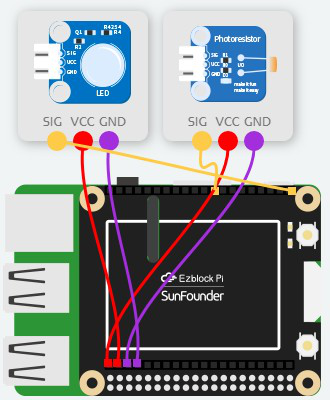
Connect the LED module to P0 and photoresistor module to A0. Connect the VCC and GND to 3.3V and GND respectively. The photoresistor can sense the intensity of light. The dimmer the light, the smaller the value of the photoresistor, and vice versa.
Step 3
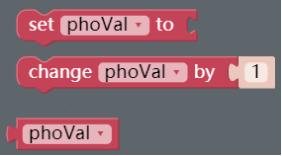
Create 1 variable called phoVal by clicking Create variable under the Variables category.
Step 4
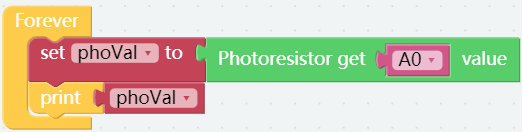
The reading value of the photoresistor is assigned to the variable phoVal and then you can print it to the Debug Monitor via print block.
Step 5
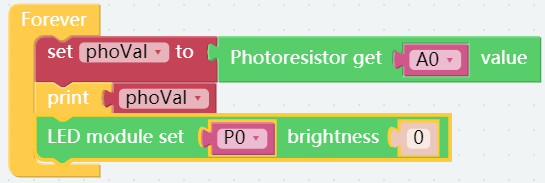
In the Sensor Kit category, drag an LED module block below the print block.
Step 6
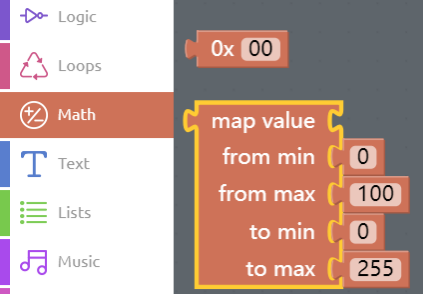
Since the read value of potentiometer ranges 0-4095 and the value of the brightness ranges 0-100, a map block is needed to map 0-4095 to 0-100. Get a map block to put it into LED module block.
Step 7
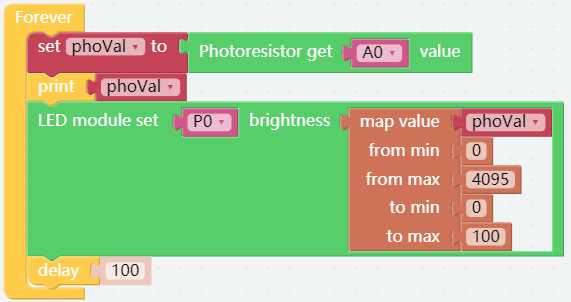
Modify the values as shown below. In addition, phoVal block comes from the Variables category. Add a delay block below the LED module block.
Step 8
Now, go to the Simulation page and click on the Run button, then drag the slider to simulate the read value of photoresistor. You can see the brightness of LED changing with it. Now save your project, connect the Bluetooth and click Flash to compile and download the code.