Introduction
As you can see, an LED has been attached to pin 13 on most of the SunFounder boards already. So just a button module can be used to build a simple circuit to make the LED light up.
Components
– 1 * SunFounder Uno board
– 1 * USB data cable
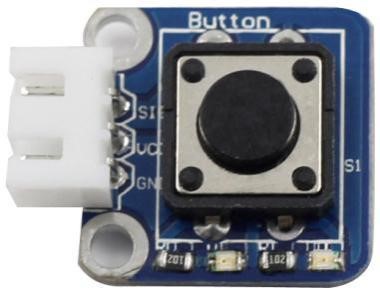
– 1 * Button module
– 1 * 3-Pin anti-reverse cable
Experimental Principle
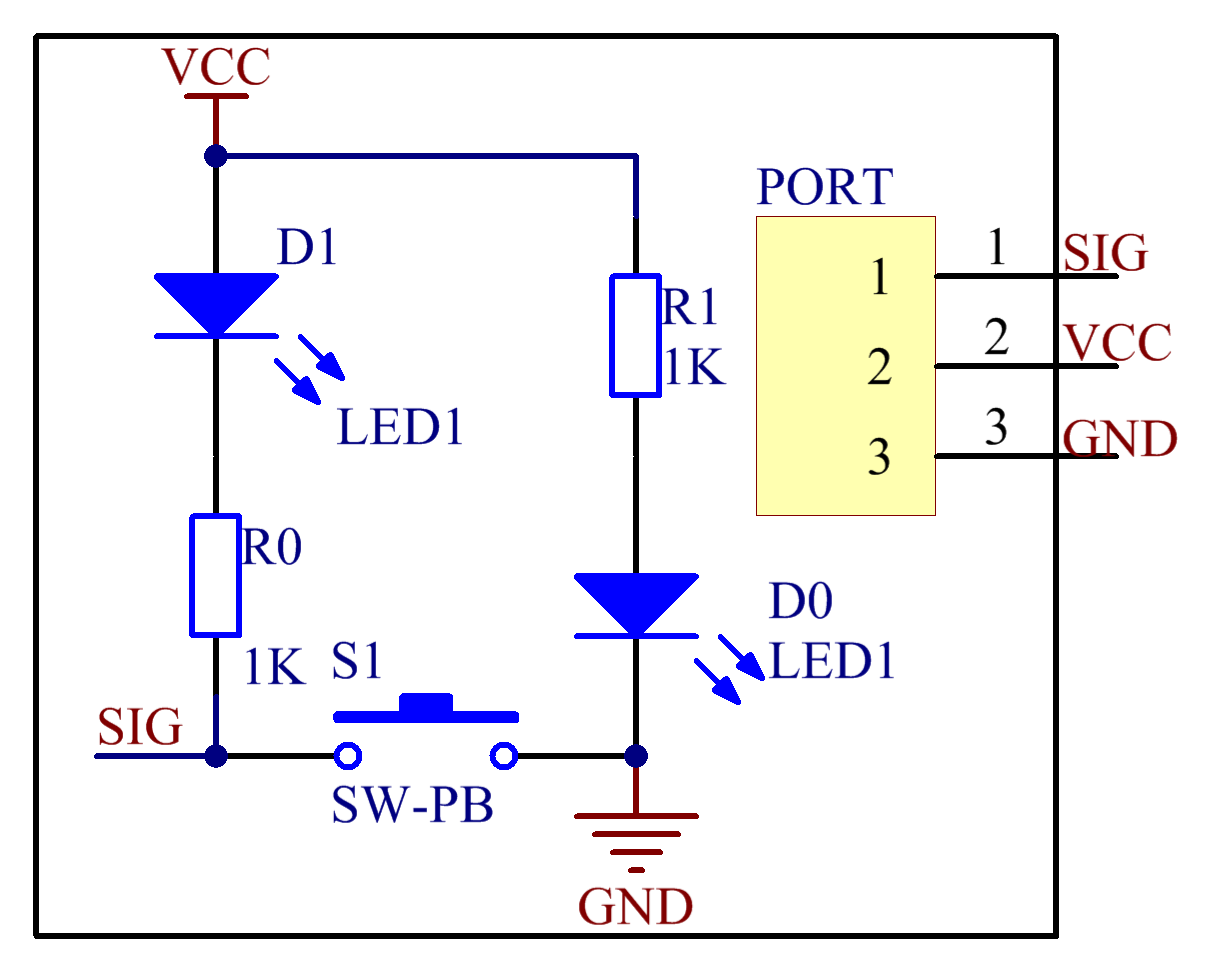
Since the LED has been attached to pin 13, just connect the button module to digital pin 7. When the button module identifies inductive button-pressing signals, the LED will be on. Otherwise it will be off.
Experimental Procedures
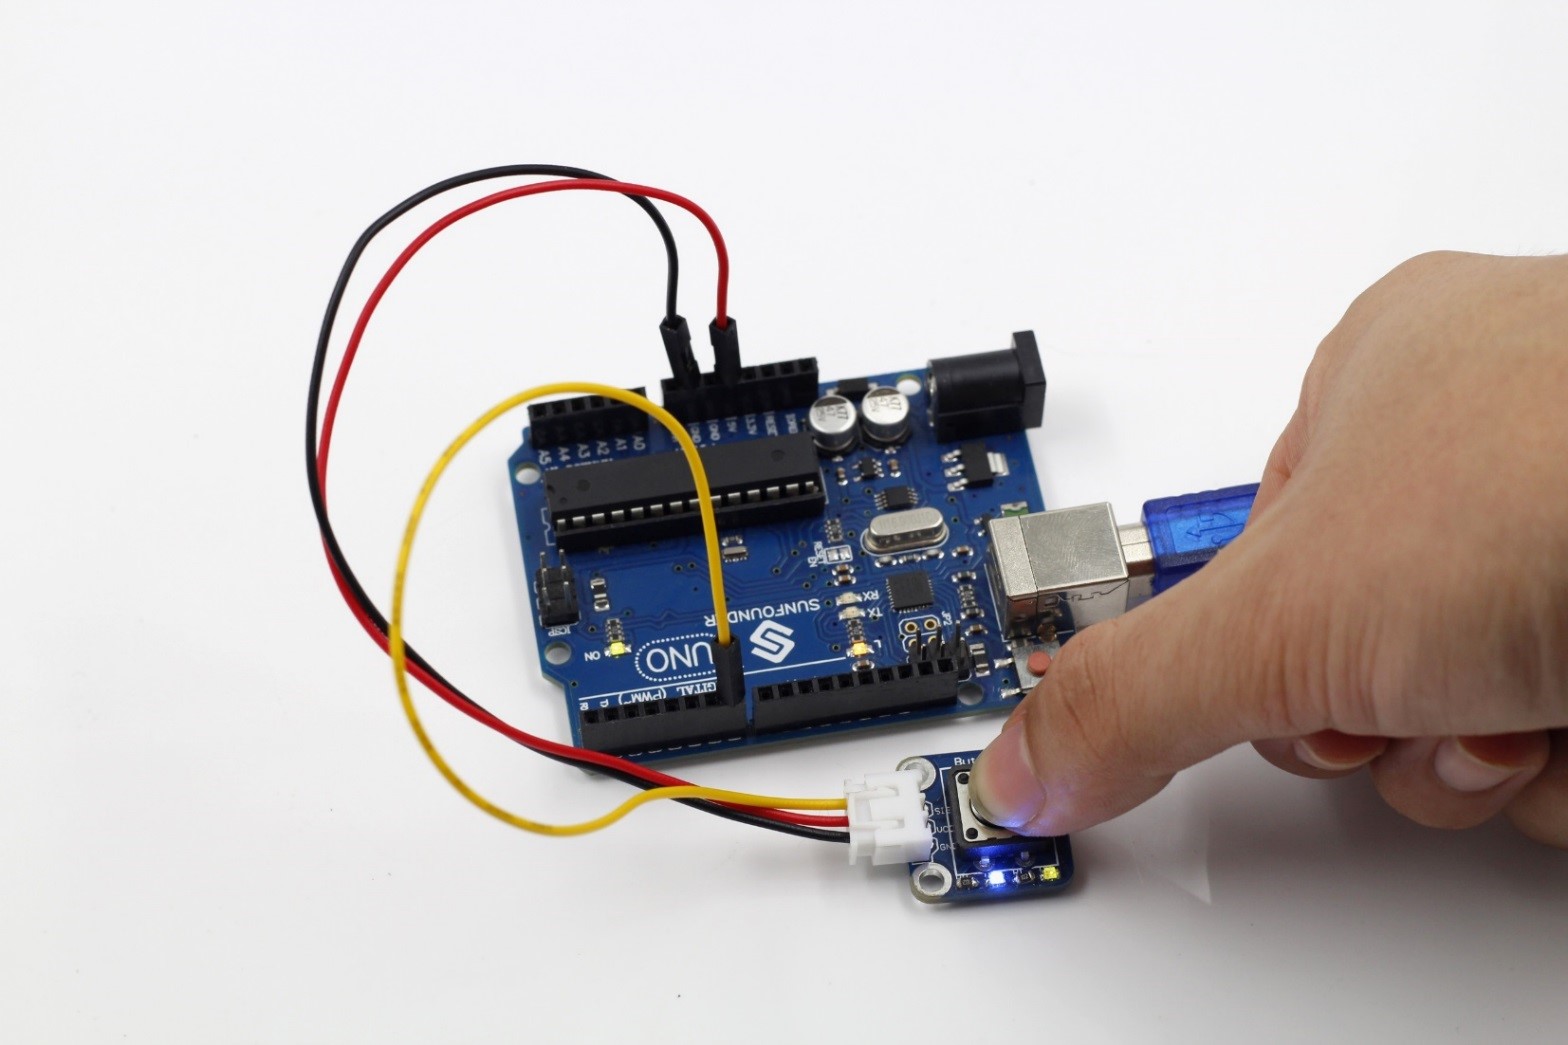
Step 1: Build the circuit

Step 2: Program (Please refer to the example code in LEARN -> Get Tutorial on our website)
Step 3: Compile
Step 4: Upload the sketch to SunFounder Uno board
Now, press the button, and then the LED on the button module and that hooked up with pin 13 of the SunFounder Uno board will light up.
Code
| //Turns on and off a LED ,when pressings button attach to pin7 /**********************************/ const int keyPin = 7; //the number of the key pin const int ledPin = 13;//the number of the led pin /**********************************/ void setup() { pinMode(keyPin,INPUT);//initialize the key pin as input pinMode(ledPin,OUTPUT);//initialize the led pin as output } /**********************************/ void loop() { boolean Value=digitalRead(keyPin);//read the state of the key value //and check if the kye is pressed //if it is,the state is HIGH if(Value ==HIGH ) { digitalWrite(ledPin,LOW);//turn on the led } else { digitalWrite(ledPin,HIGH);//turn off the led } } /************************************/ |