Introduction
In many robot projects, the servo is used to act as the joint of the robot to control the attitude of the robot. In this lesson, a servo will be used to simulate one of the joints, and then the veer of the servo will be remotely controlled by the iPad.
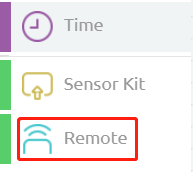
![]() Components
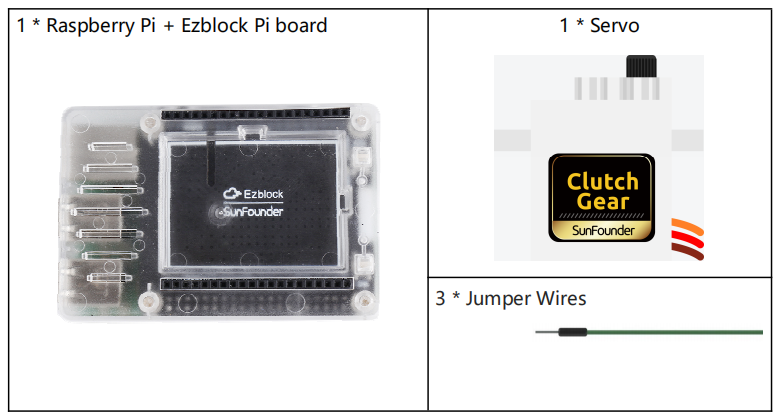
Components
Programming Steps
Step 1
After creating a new project, click on the Simulation icon on the left side of the page to enter the Simulation page.

Step 2
Connect the SIG of servo to P0 of the Ezblock Pi, the VCC to 3.3V and the GND to GND. Note: On physical objects, the SIG corresponds to the orange line, the VCC to the red line, and the GND to the brown line.

Step 3
Click Create variable under the Variables category to create a variable: yValue.
Step 4
Click the Remote Control icon to go to the Remote Control page.

Step 5
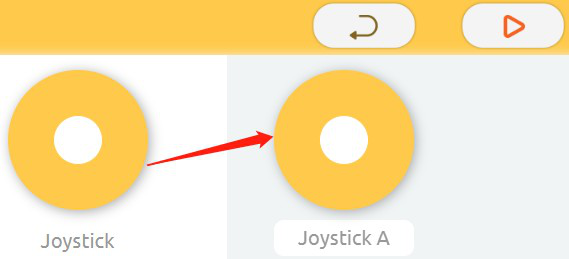
Move the Joystick on the left to the blank area on the right; click the back icon, and go back to the Programming page.
Step 6
Go back to the Programming page, and you can see that you get a new Remote category. In this category you can find the blocks of the virtual controls you just added.
Step 7
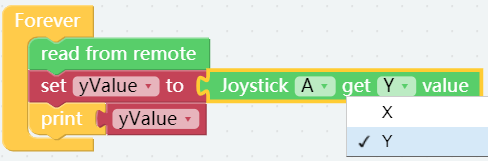
Click on the Remote category, then drag a read from remote block into Forever block to receive bluetooth data in real time, so you can use virtual controls on the APP to control the board.

Step 8
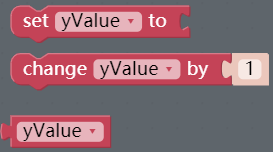
Read the value of the Joystick’s Y direction to assign to the variable yValue and print it on the Debug Monitor.
Step 9
Place the Servo block that is under the Sensor Kit category to below the Print block.

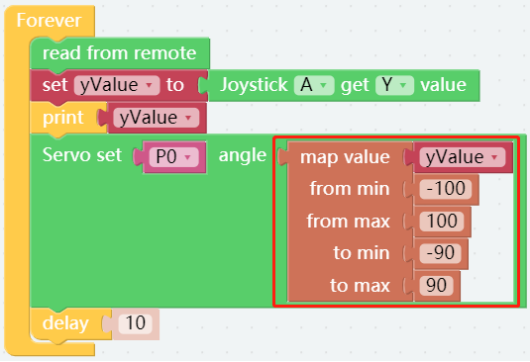
![]() Step 10
Step 10
Get a map value block under the Math category and put it into the Servo block, then modify the values as follows. The yValue block comes from the Variables category.
Step 11
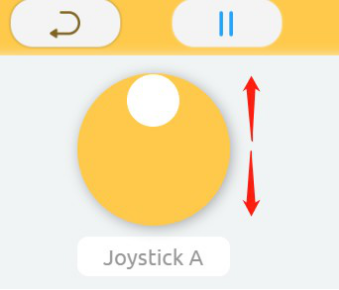
Now save your project, connect the Bluetooth and click Flash to compile and download the code. Click the Run button on the Remote Control page, moving the Joystick up and down slowly, and you will see the servo rotating accordingly.