Introduction
In this lesson, we will simply read the value of Joystick.
![]()
![]() Components
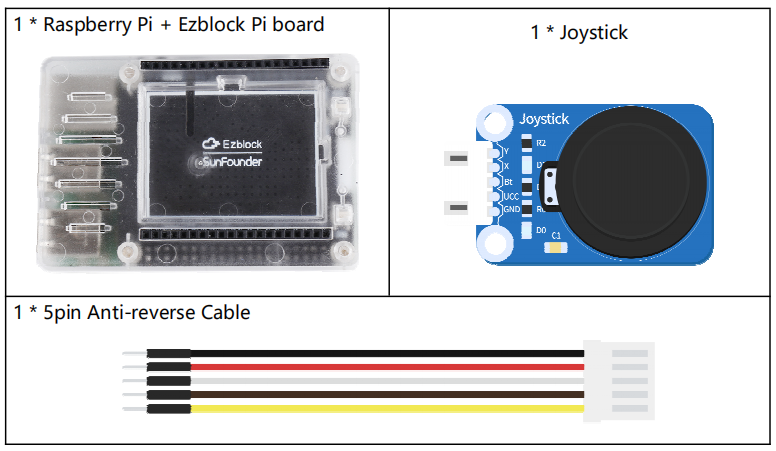
Components
Programming Steps
Step 1
After creating a new project, click on the Simulation icon on the left side of the page to enter the Simulation page.

Step 2
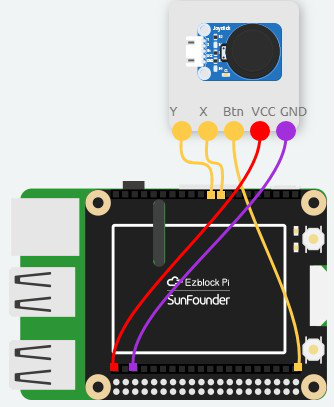
Connect the Y of Joystick to A1, X to A0 and Btn to D0. Then connect the VCC and GND to 3.3V and GND respectively.
Step 3
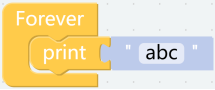
Drag a print block from the Basic category to Forever block.
Step 4
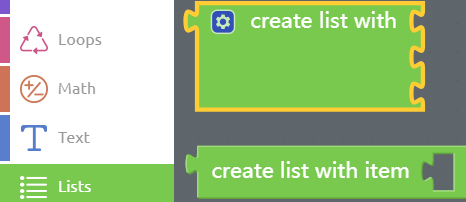
Click on the Lists category and drag a create list with block to behind the print block to create the list.
Step 5
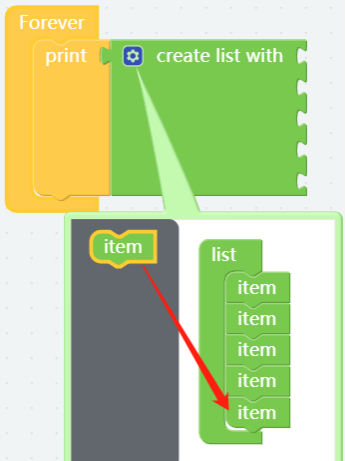
Click the Settings button in the top left corner and add other 3 item blocks to the list.
Step 6
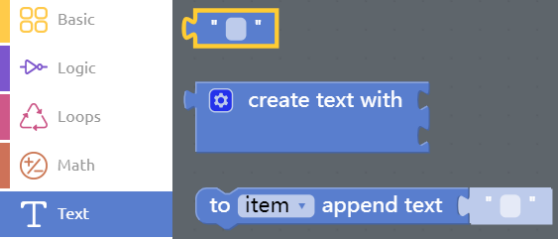
Click on Text category to drag 3 Text blocks to the first position of create list with block.
Step 7
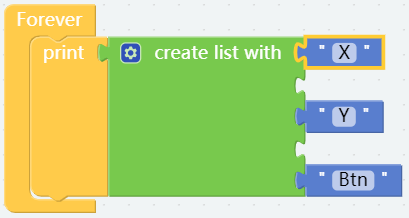
Change 3 Text blocks to X, Y and Btn.
Step 8
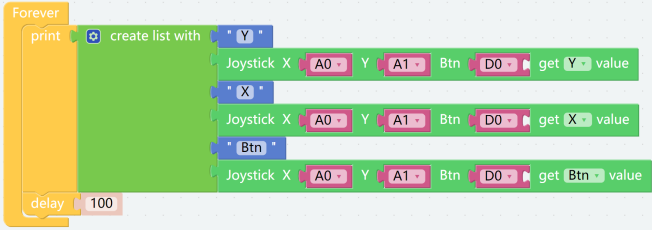
Drag 3 Joystick blocks in the Sensor Kit category to the create list with block, and change the following values to X, Y and Btn. Finally place a delay block below the print block.
Step 9
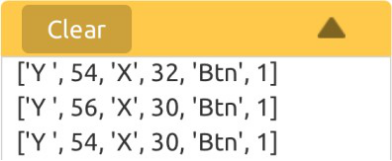
Now save your project, connect the Bluetooth and click Flash to compile and download the code. After that, when you slide the joystick, the values of X,Y and Btn will be printed on the Debug Monitor.