Introduction
In this lesson, we will use the IoT for remote control which helps you be free from worrying about leaving the house with the lights on.
![]()
![]() Components
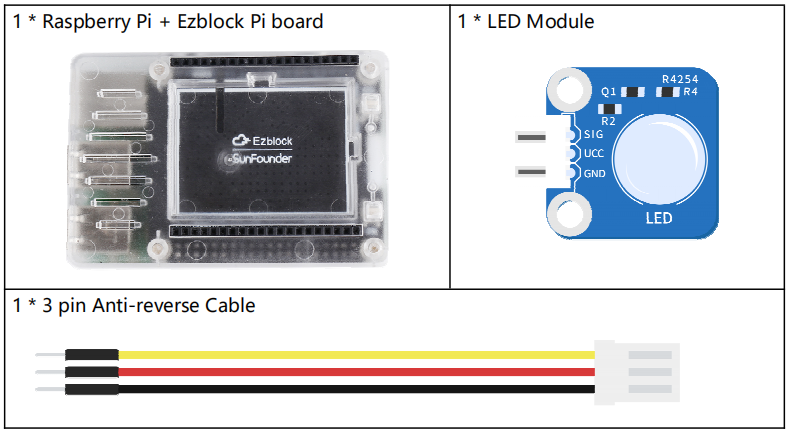
Components
Programming Steps
Step 1
After creating a new project, click on the Simulation icon on the left side of the page to enter the Simulation page.

Step 2
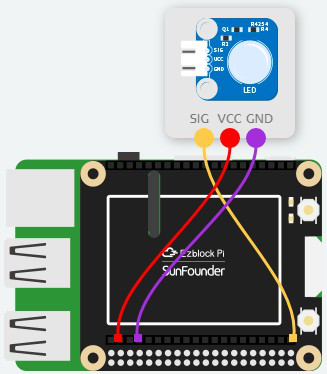
Enter the Simulation page and connect the LED module to D0 of the Ezblock Pi. Then connect the VCC and GND to 3.3V and GND respectively.
Step 3
Return to the Programming page, and click the IoT Control icon to enter the IoT Control page.

Step 4
Click the ‘+’ button to add actuators.

Step 5
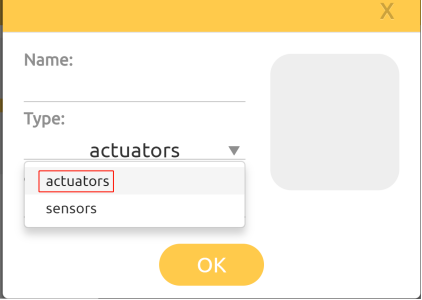
Click on the blank line to the right of type, and there appears actuators(for control) and sensors (for reading values). Here, we select actuators.
Step 6
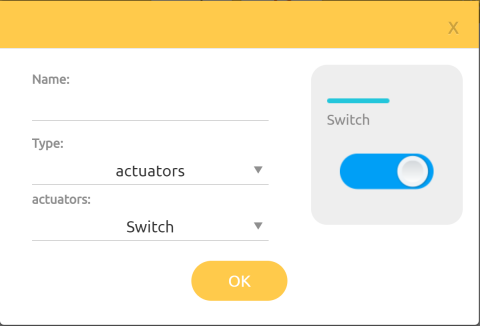
Select Switch.
Step 7
In Name bar, input Switch then click OK, and you will get a Switch actuator.
Note: Long press this actuator or sensor, and you can delete it.

Step 8
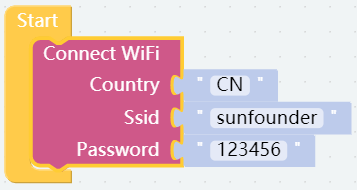
Go back to the Programming page, get a Connect WiFi block that is used to get the Raspberry Pi connected to the network and put it into Start Category.
Step 9
If the value of Switch is 1, set the LED module to 1 to light the LED, otherwise the LED will be turned off. The get Switch-1 value block comes from the IoT category and the LED module block is from the Sensor Kit category.

Step 10
Now save your project, connect the Bluetooth and click Flash to compile and download the code. After that, you can disconnect the Bluetooth to let the IoT signal transfer faster.

Step 11
Go to the IoT page, then click the run button, and you can control the LED remotely.
