Introduction
Most SunFounder boards already have an LED attached to pin 13 on the board itself. So we will use this LED and a button module to make the LED light up.
Components
– 1*SunFounder Uno board
– 1*USB data cable
– 1*Button module
– Several jumper wires
Experimental Principle
With the LED attached to pin 13, connect the button module to D8. When the button module inducts button-pressing signals, the LED will be on. Otherwise, it will be off.
Experimental Procedures
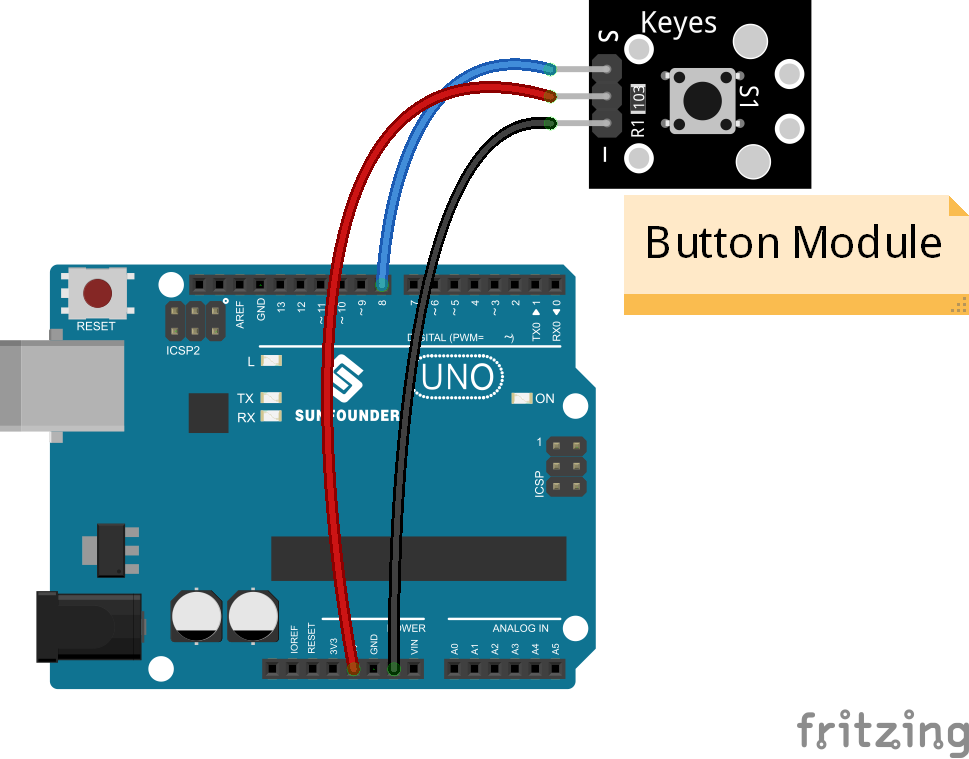
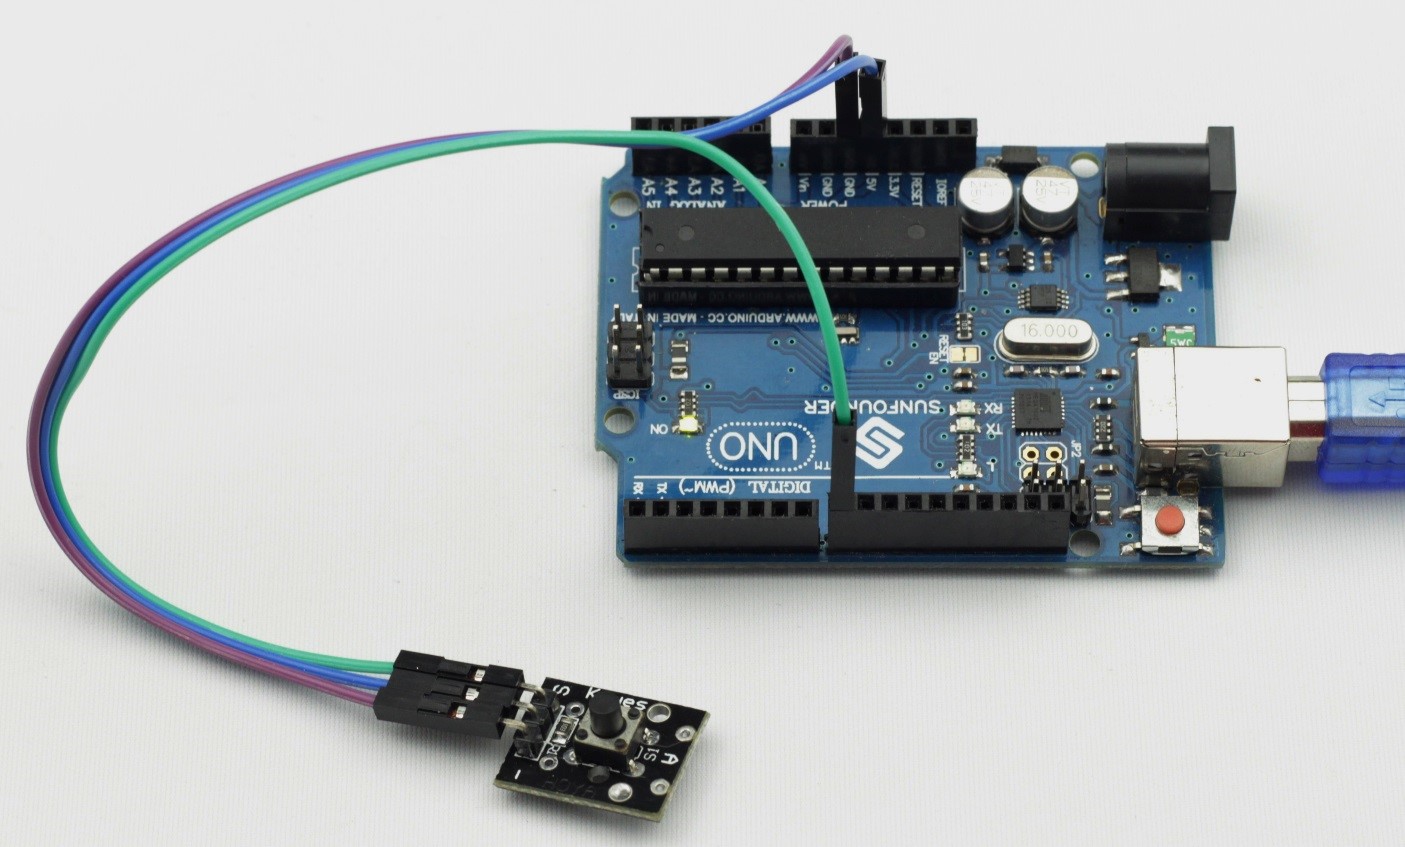
Step 1: Build the circuit
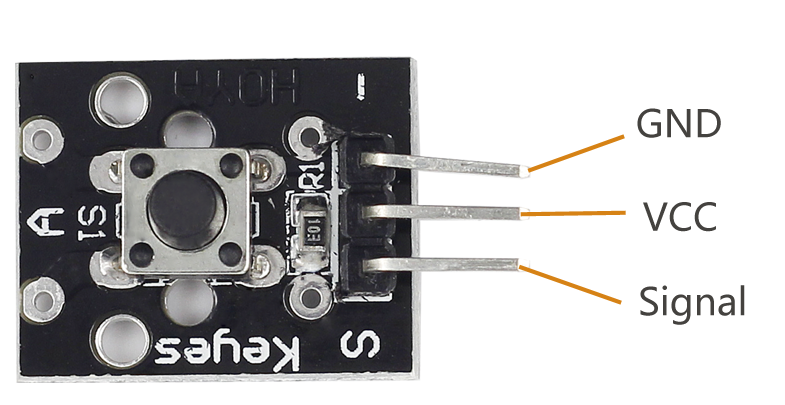
| Button Module | SunFounder Uno |
| S | D8 |
| “-” | GND |
| + | 5V |
Step 2: Program (Please refer to the example code in LEARN -> Get Tutorials on our website)
Step 3: Compile the code
Step 4: Upload the sketch to the SunFounder Uno board
Now, press the button, the LED attached to pin 13 on the SunFounder Uno board will light up.
Code
| /*********************************************/ const int ledPin = 13;//the number of the led pin const int buttonPin = 8; //the button pin attach to int val = 0;//variable to store the value read from button /*********************************************/ void setup() { pinMode(ledPin,OUTPUT);//initialize the ledPin as an output pinMode(buttonPin,INPUT);//initialize the buttonPin as an intput } /*********************************************/ void loop() { val = digitalRead(buttonPin);//read the value from button if(val == HIGH) { digitalWrite(ledPin,LOW);//turn the led off } else //when pressed { digitalWrite(ledPin,HIGH);//turn the led on } } /***********************************************/ |