Introduction
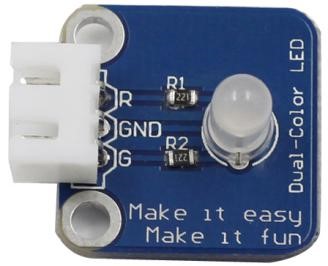
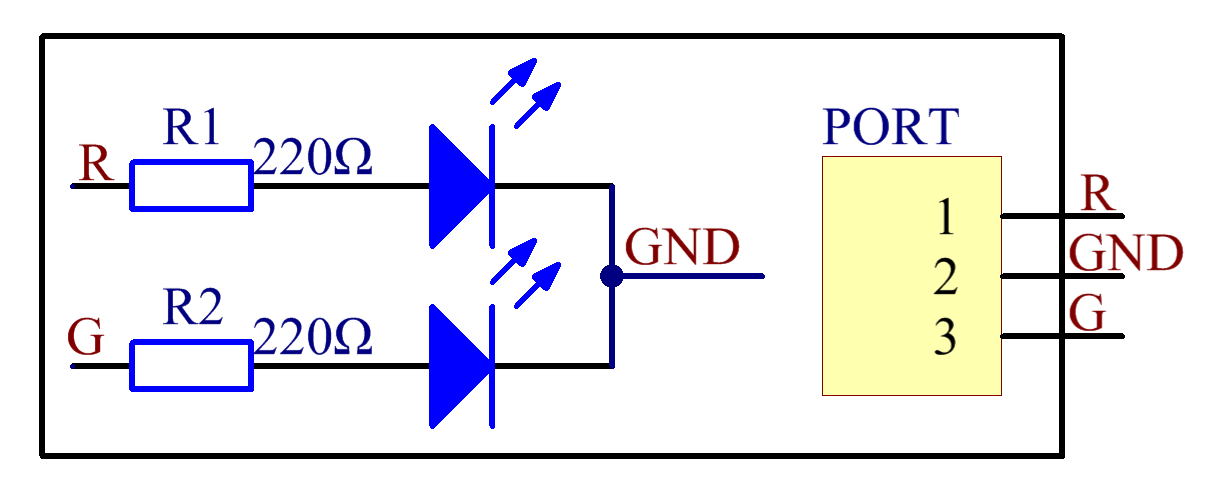
A dual-color light emitting diode (LED) is capable of emitting two different colors of light, typically red and green, rather than only one color. It is housed in a 3mm or 5mm epoxy package. It has 3 leads; common cathode or common anode is available. A dual-color LED features two LED terminals, or pins, arranged in the circuit in anti-parallel and connected by a cathode/anode. Positive voltage can be directed towards one of the LED terminals, causing that terminal to emit light of the corresponding color; when the direction of the voltage is reversed, the light of the other color is emitted. In a dual-color LED, only one of the pins can receive voltage at a time. As a result, this type of LED frequently functions as indicator lights for a variety of devices, including televisions, digital cameras, and remote controls.

Components
– 1 * SunFounder Uno board
– 1 * USB data cable
– 1 * Dual-color LED module
– 1 * 3-Pin anti-reverse cable
Experimental Principle
Control the LED brightness by the digital port. The color of the LED changes from red to green as well as flashes a mixed color.

Experimental Procedures
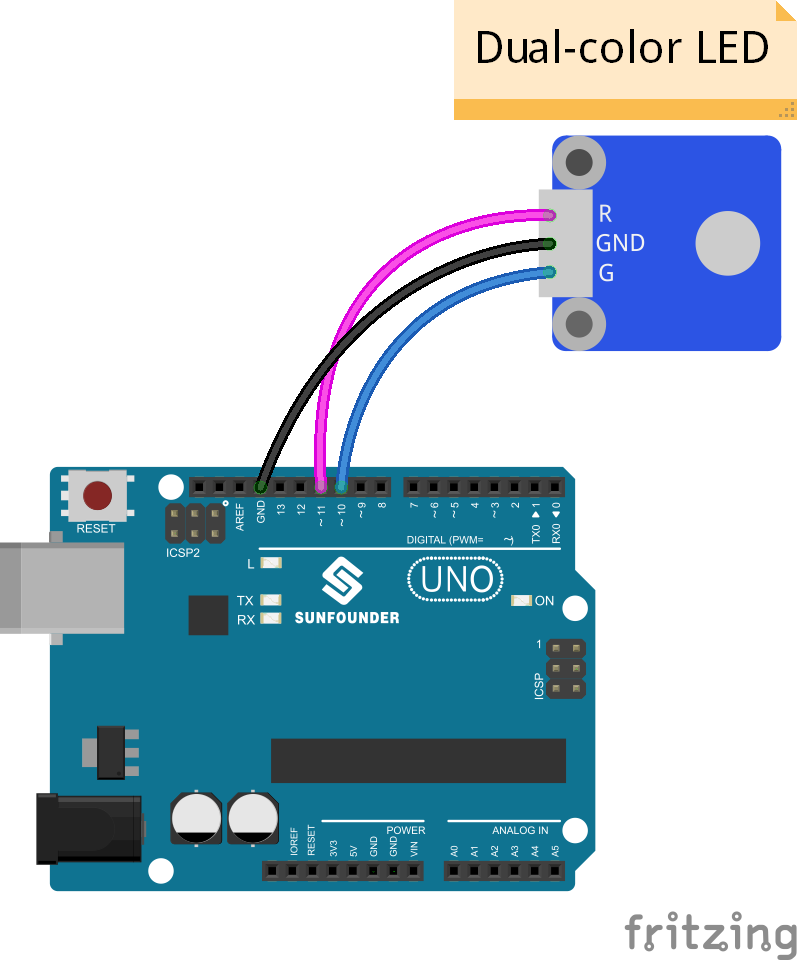
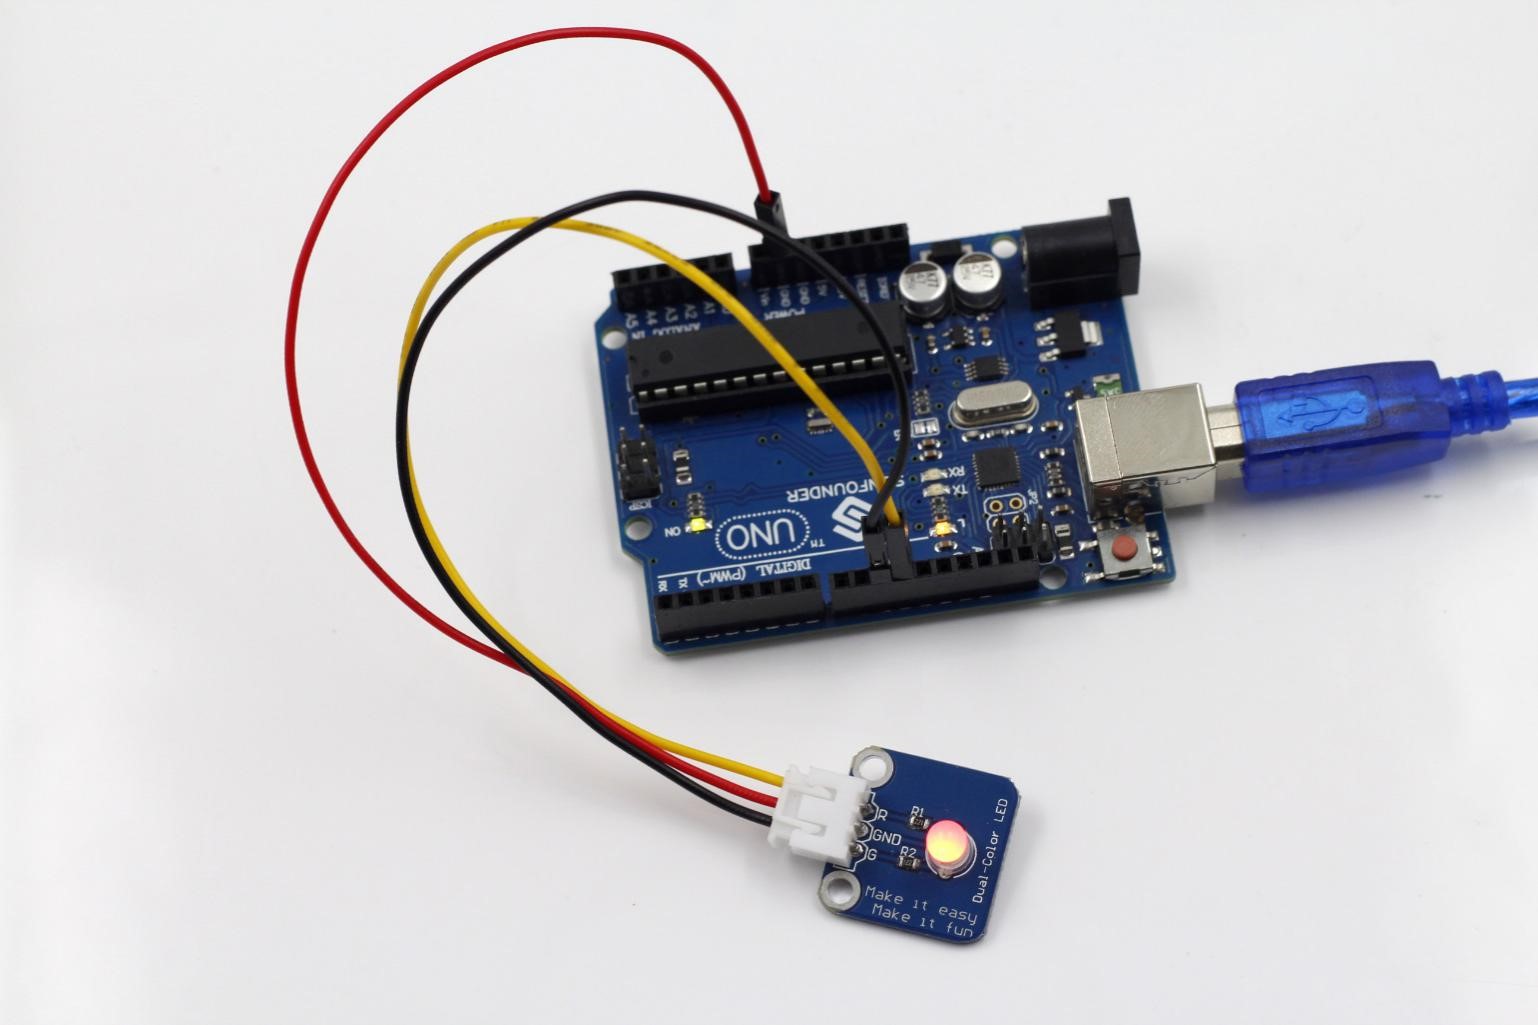
Step 1: Build the circuit

Step 2: Program (Please refer to the example code in LEARN -> Get Tutorial on our website)
Step 3: Compile
Step 4: Upload the sketch to SunFounder Uno board
Now, you can see the dual-color LED changes from red to green alternately, as well as flashing a mixed color during the alternation.

Code
| /*************************************************** name:Dual-color LED function:you can see the dual-color LED changes from red to green alternately, as well as flashing a mixed color during the alternation. connection: Dual-color LED Uno R3 R 11 GND GND G 10 ****************************************************/ //Email:support@sunfounder.com //website:www.sunfounder.comint redPin = 11; // select the pin for the red LED int greenPin = 10; // select the pin for the blueLED int val = 0;void setup() { pinMode(redPin, OUTPUT); //set redPin as OUTPUT pinMode(greenPin, OUTPUT);//set greenPin as OUTPUT Serial.begin(9600); } /******************************************************/ void loop() { for(val=255; val>0; val–) // { analogWrite(redPin, val); //red value decrease analogWrite(greenPin, 255-val);//green value increase Serial.println(val, DEC);//print the val on in serial monitor delay(30); //delay 30ms } for(val=0; val<255; val++) { analogWrite(redPin, val); //red value increase analogWrite(greenPin, 255-val);//green value decrease Serial.println(val, DEC);//print the val on in serial monitor delay(30); //delay 30ms } } /********************************************************/ |
