Introduction
Relays are suitable for driving high power electric equipment, such as lights, electric fans and air conditioning. We can use a relay to realize low voltage to control high voltage by connecting it to a Raspberry Pi.

Components
– 1 * Raspberry Pi
– 1 * Network cable (or USB wireless network adapter)
– 1 * Relay module
– Several jumper wires
Experimental Principle
Connect the base electrode of the transistor to GPIO0. When we make GPIO0 output low level (0V) by programming, the transistor will conduct electricity because of current saturation. The normally open contact of the relay will be closed, while the normally closed contact of the relay will be opened; when we make it output high level (3.3V), the transistor will be cut off, and the relay will restore to the initial state.
Experimental Procedures
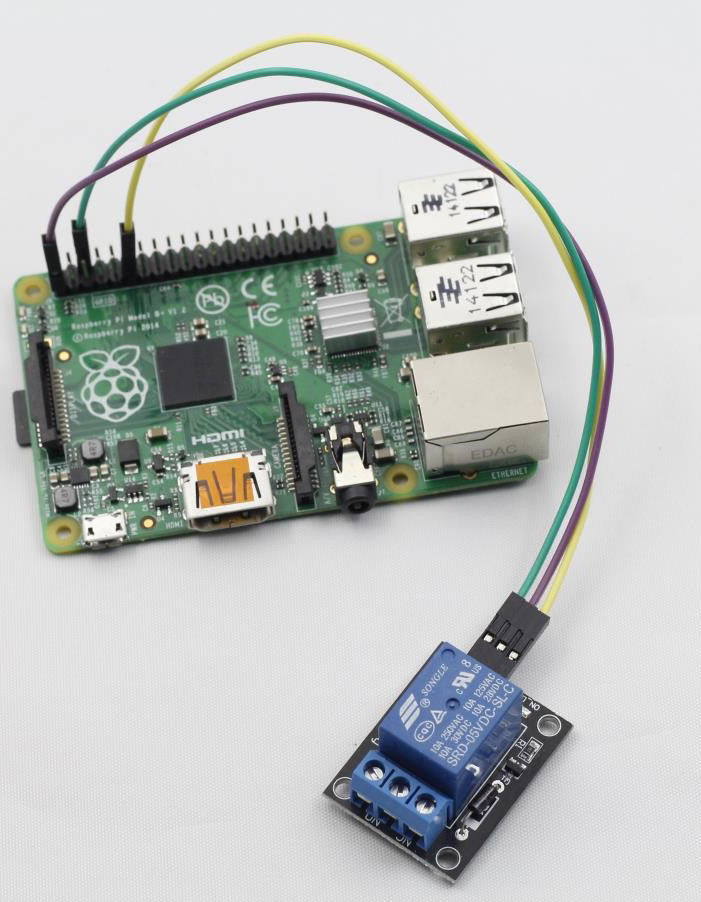
Step 1: Build the circuit
Raspberry Pi Relay Module
GPIO0 ————————————– S
5V —————————————— +
GND ————————————— –
Step 2: Edit and save the code with vim (see path/Rpi_SensorKit_Code/26_relay/relay.c)
Step 3: Compile
gcc relay.c -lwiringPi
Step 4: Run
./a.out
Now, you can hear the buzzer beep. This sound is made by breaking the normally closed contact and closing the normally open contact. You can attach a high voltage device to the module. For example, connect a bulb of 220V voltage to the output port of the relay module, and then the relay will act as an automatic switch.
relay.c
#include <wiringPi.h>
#include <stdio.h>

#define RelayPin      0

int main(void)
{
	if(wiringPiSetup() == -1){ //when initialize wiring failed,print messageto screen
		printf("setup wiringPi failed !");
		return 1;
	}
//	printf("linker LedPin : GPIO %d(wiringPi pin)\n",VoicePin); //when initialize wiring successfully,print message to screen

	pinMode(RelayPin, OUTPUT);

	while(1){
			digitalWrite(RelayPin, LOW);
			delay(1000);
			digitalWrite(RelayPin, HIGH);
			delay(1000);
	}

	return 0;
}
Python Code
#!/usr/bin/env python
import RPi.GPIO as GPIO
import time

RelayPin = 11    # pin11

def setup():
	GPIO.setmode(GPIO.BOARD)       # Numbers GPIOs by physical location
	GPIO.setup(RelayPin, GPIO.OUT)
	GPIO.output(RelayPin, GPIO.HIGH)

def loop():
	while True:
		print '...relayd on'
		GPIO.output(RelayPin, GPIO.LOW)
		time.sleep(0.5)
		print 'relay off...'
		GPIO.output(RelayPin, GPIO.HIGH)
		time.sleep(0.5)

def destroy():
	GPIO.output(RelayPin, GPIO.HIGH)
	GPIO.cleanup()                     # Release resource

if __name__ == '__main__':     # Program start from here
	setup()
	try:
		loop()
	except KeyboardInterrupt:  # When 'Ctrl+C' is pressed, the child program destroy() will be  executed.
		destroy()