Introduction
In this lesson, we will control the LED light on and off with a button.
Components
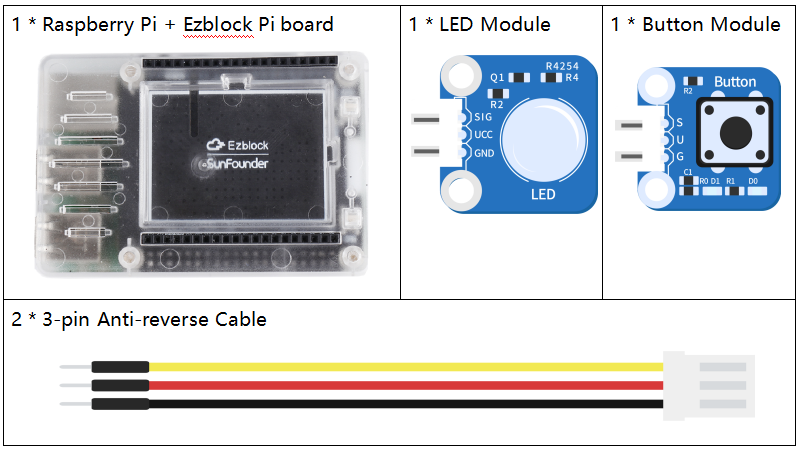
Programming Steps
Step 1
After creating a new project, click on the Simulation icon on the left to enter the Simulation page.

Step 2
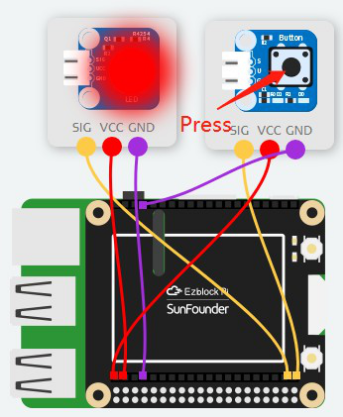
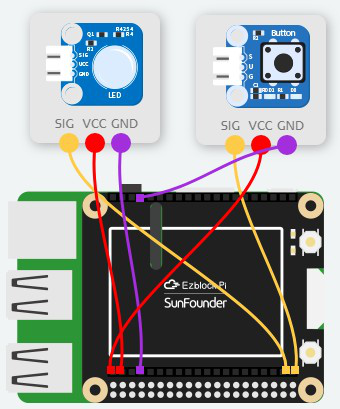
Connect the LED module to D1 and connect the button module to D0 of Ezblock Pi. Then connect the VCC and GND to 3.3V and GND respectively. When the button is pressed, a low level signal 0 will be output, and then D1 is set to 1 to illuminate LED.
Step 3
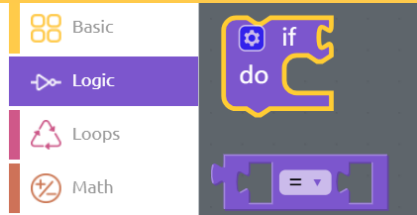
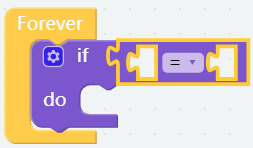
Place an if do block that is under the Logic category into the Forever block to judge if the LED module needs to be lit.
Step 4
Then place a Comparison Operator ( = ) block behind the if block to create a judgment condition.
Step 5
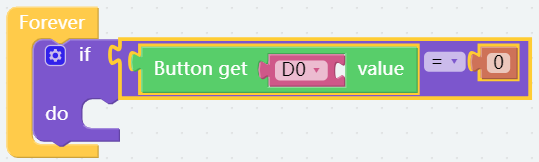
Drag a Button block from Sensor Kit category into the first slot, and 0 block from the math category to the second slot. When the button is pressed, the value of the button read is equal to 0.
Step 6
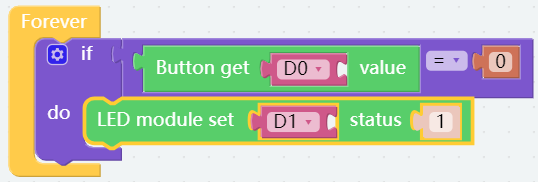
Lights up the LED module if the button is pressed.
Step 7
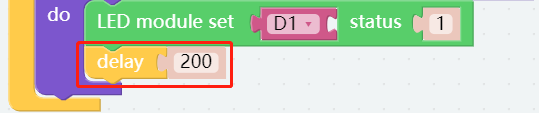
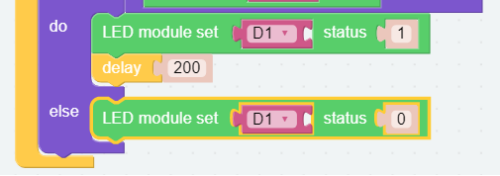
Add a delay block to keep the LED on for 200ms after the button is pressed.
Step 8
Click the Settings icon in the top left corner of the if do block, place an else block below the if block, and you will see that the if do block becomes if do else block.

Step 9
If the button is pressed, lit the LED. otherwise, turn it off.
Step 10
Go to the Simulation page and click on the Run button. If the button is pressed, the light turns on; otherwise, it turns off, indicating that there is no problem with the code. Now, save your project, connect the Bluetooth and click Flash to download the code.