Introduction
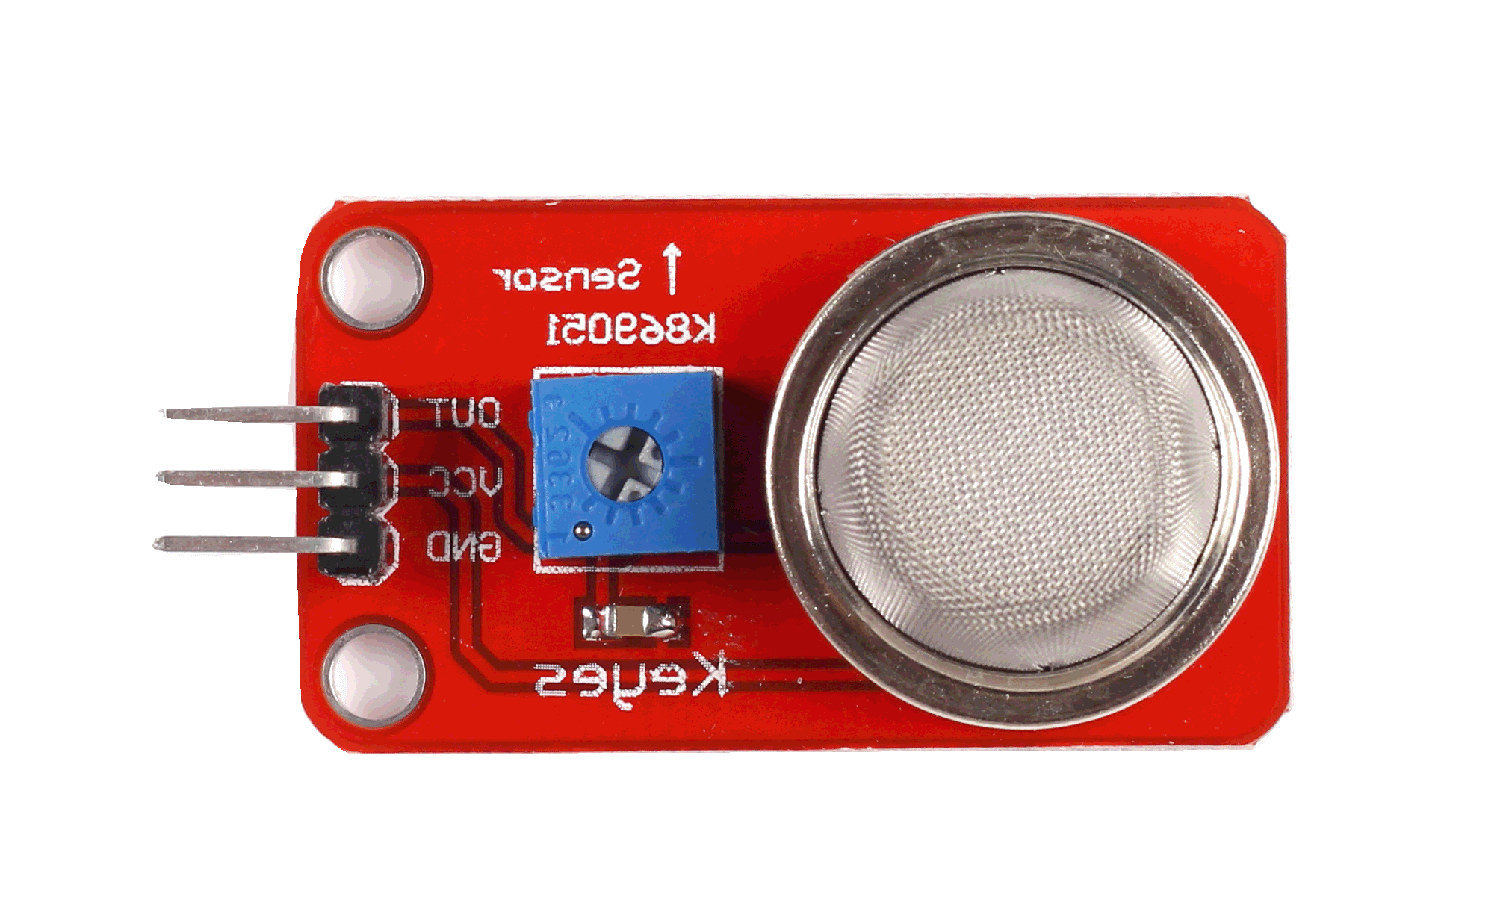
Gas Sensor MQ-2 is for flammable gas and smoke detection by measuring concentrations of combustible gases in the air. They are often used for detecting smoke and flammable gasses in households, industry or automobiles.
Components
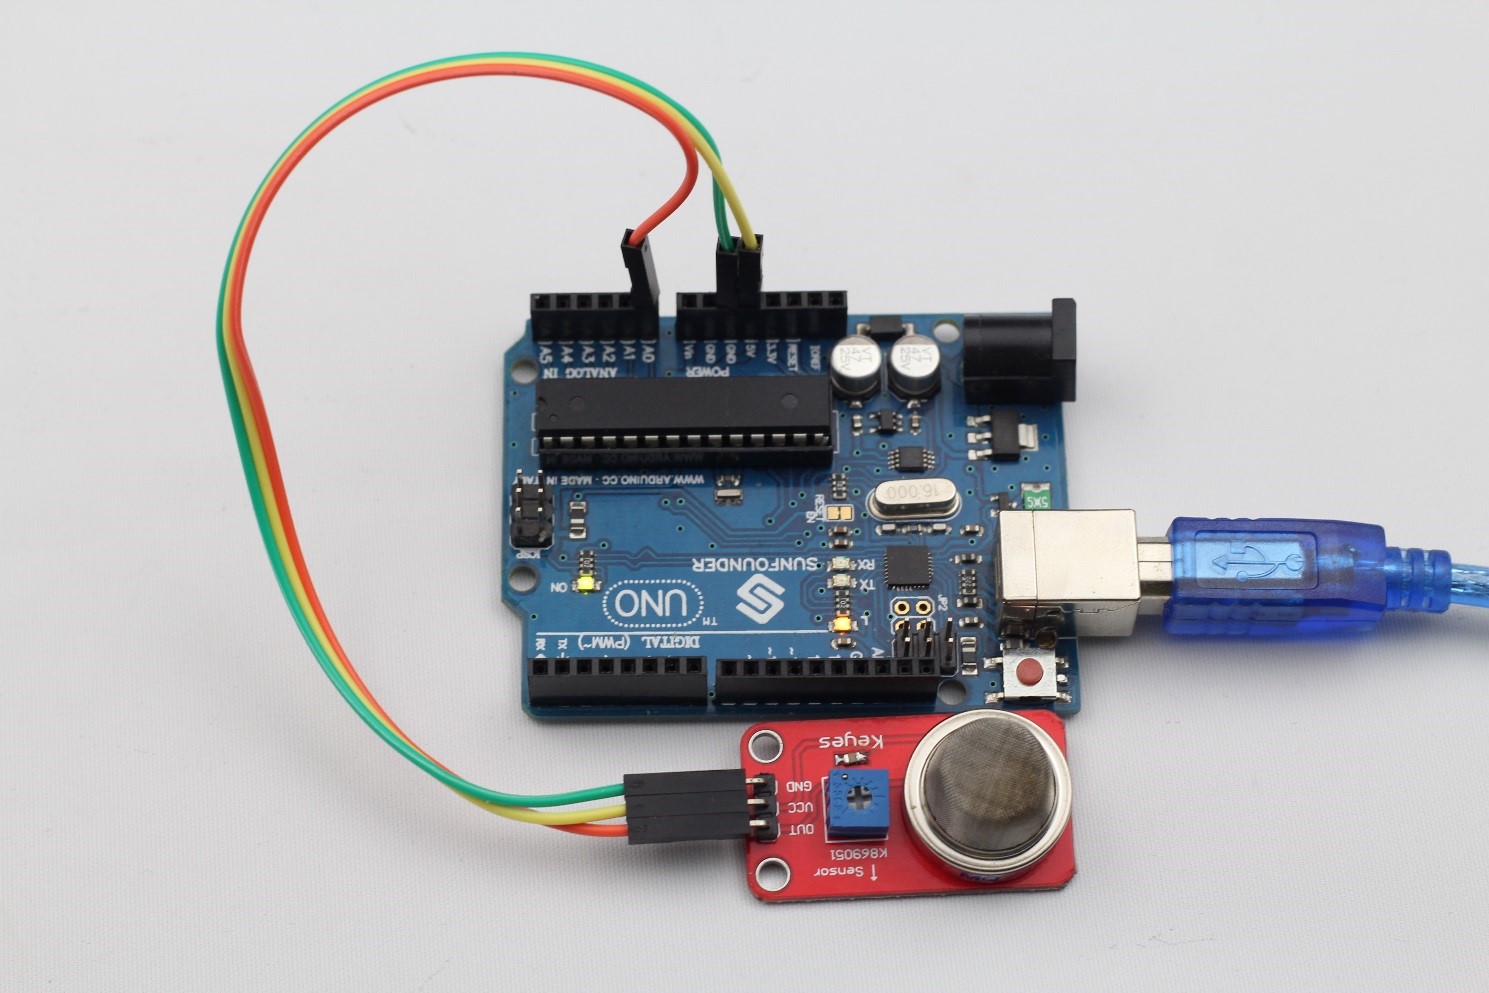
– 1 * SunFounder Uno board
– 1 * USB data cable
– 1 * MQ-2 Gas sensor module
– Several jumper wires
Experimental Principle
MQ-2 gas sensor applies SnO2 (an oxygen-deficient n-type semiconductor) which has a lower conductivity in the clear air as a gas-sensing material. In an atmosphere where there may be inflammable gases, the conductivity of the gas sensor raises along with the inflammable gas concentration increases. MQ-2 performs a good detection to different inflammable gases such as natural gas, especially sensitive to liquefied gas, propane and hydrogen. The higher the concentration is, the greater the conductivity will be, thus changing the output signal.
In this experiment, release a small amount of smoke or flammable gas around the sensor and watch the value at A0 increase. Once the concentration of the gas exceeds a limit, the LED attached to pin 13 of Uno will light up.
Experimental Procedures
Step 1: Build the circuit
MQ-2 Gas Sensor Module SunFounder Uno
OUT —————————————– A0
VCC —————————————– 5V
GND ————————————— GND
Step 2: Program (Please refer to the example code in LEARN -> Get Tutorial on our website)
Step 3: Compile
Step 4: Upload the sketch to SunFounder Uno
Now, ignite a lighter or light a candle and release a small amount of smoke or gases into a flask (or other glass containers). Then place the sensor over the container, or invert the container and place the sensor at the mouth. When the concentration reaches the threshold, you can see the value displayed on Serial Monitor change.
Code
| void setup() { Serial.begin(9600); } void loop() { int val; val=analogRead(0); Serial.println(val,DEC); delay(100); } |