Introduction
Previously, we have used Serial Monitor to send data to the control board, which may be enlightening to know a new software. In this lesson, let’s see how to change the luminance of an LED by a potentiometer, and receive the data of the potentiometer in Serial Monitor to see its value change.
Components
– 1 * SunFounder Uno board
– 1 * Breadboard
– 1 * Resistor (220Ω)
– 1 * LED
– 1 * Potentiometer
– 1 * USB cable
– Jumper wires
Principle
Analog V.S. Digital
A linear potentiometer is an analog electronic component. So what’s the difference between an analog value and a digital one? Simply put, digital means on/off, high/low level with just two states, i.e. either 0 or 1. But the data state of analog signals is linear, for example, from 1 to 1000; the signal value changes over time instead of indicating an exact number. Analog signals include those of light intensity, humidity, temperature, and so on.
The schematic diagram
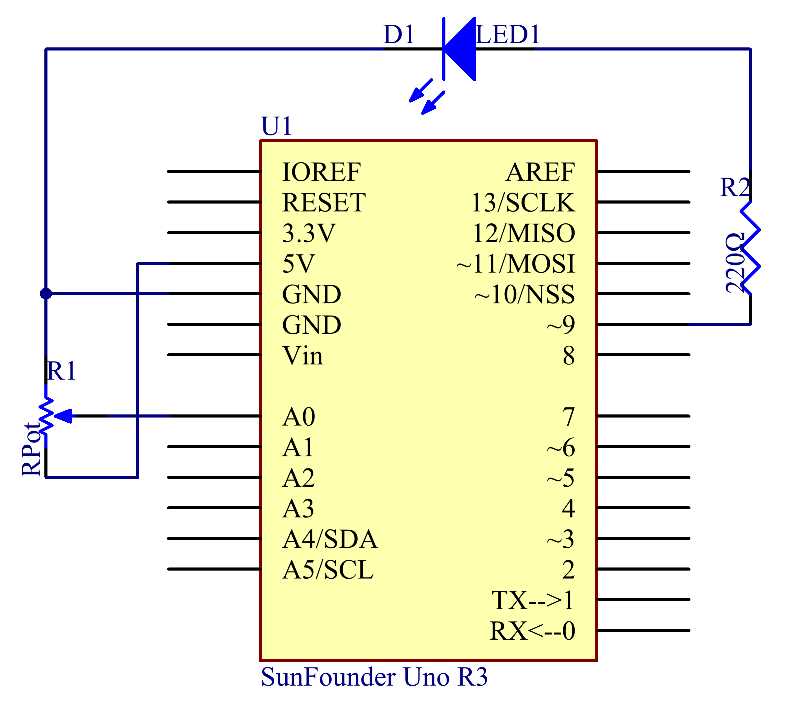
Principle: In this experiment, the potentiometer is used as voltage divider, meaning connecting devices to all of its three pins. Connect the middle pin of the potentiometer to pin A0 and the other two pins to 5V and GND respectively. Therefore, the voltage of the potentiometer is 0-5V. Spin the knob of the potentiometer, and the voltage at pin A0 will change. Then convert that voltage into a digital value (0-1024) with the AD converter in the control board. Through programming, we can use the converted digital value to control the brightness of the LED on the control board.
Experimental Procedures
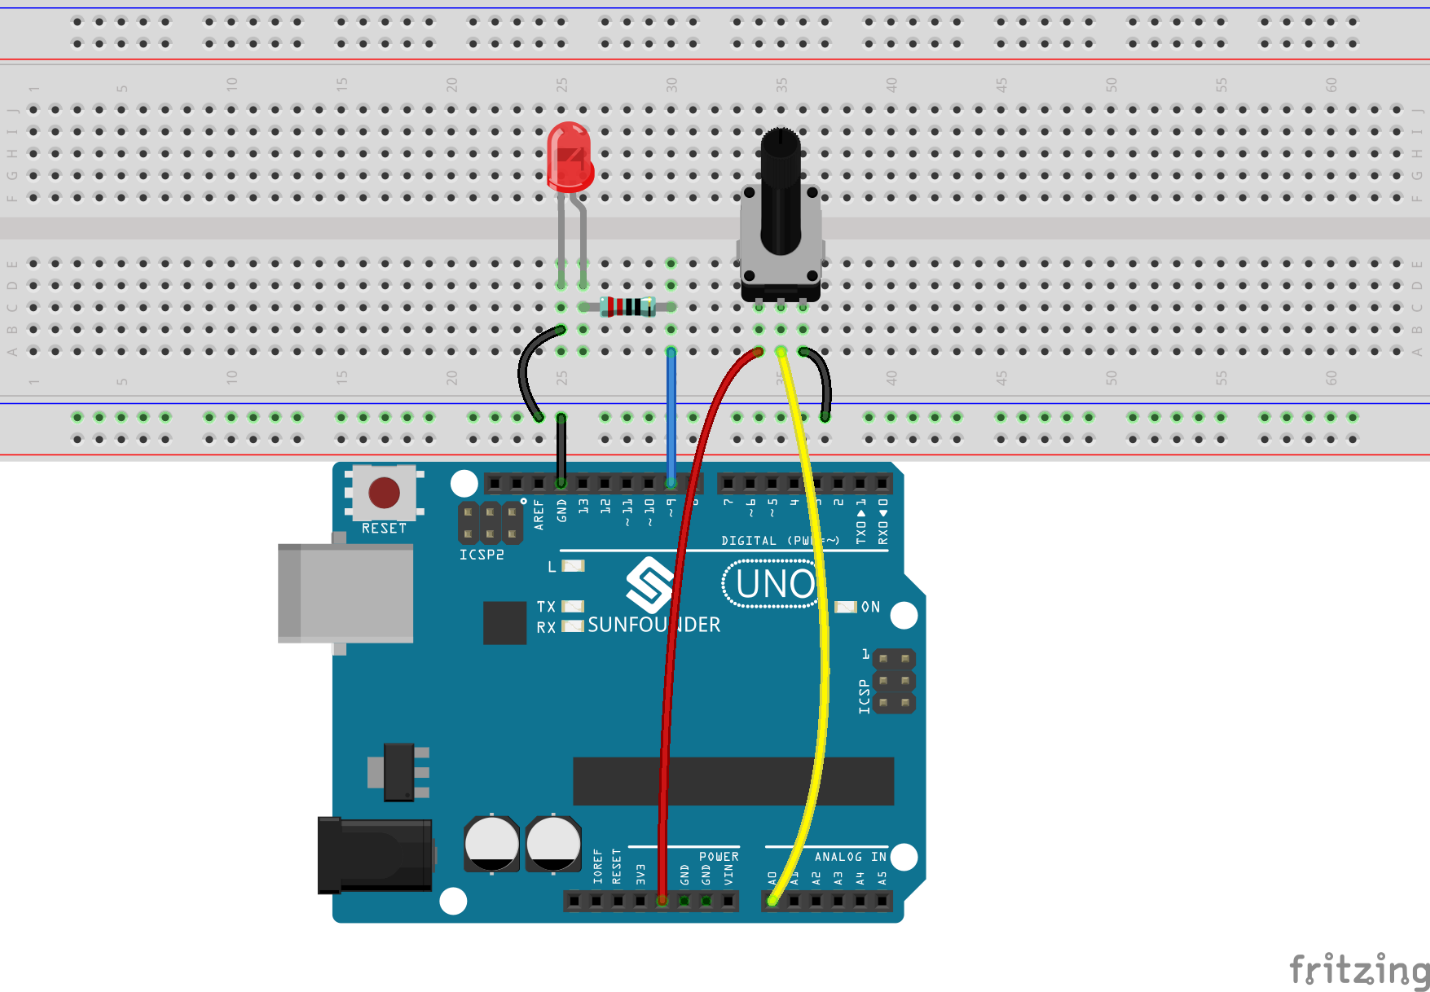
Step 1: Build the circuit
Step 2: Open the code file
Step 3: Select correct Board and Port
Step 4: Upload the sketch to the SunFounder Uno board
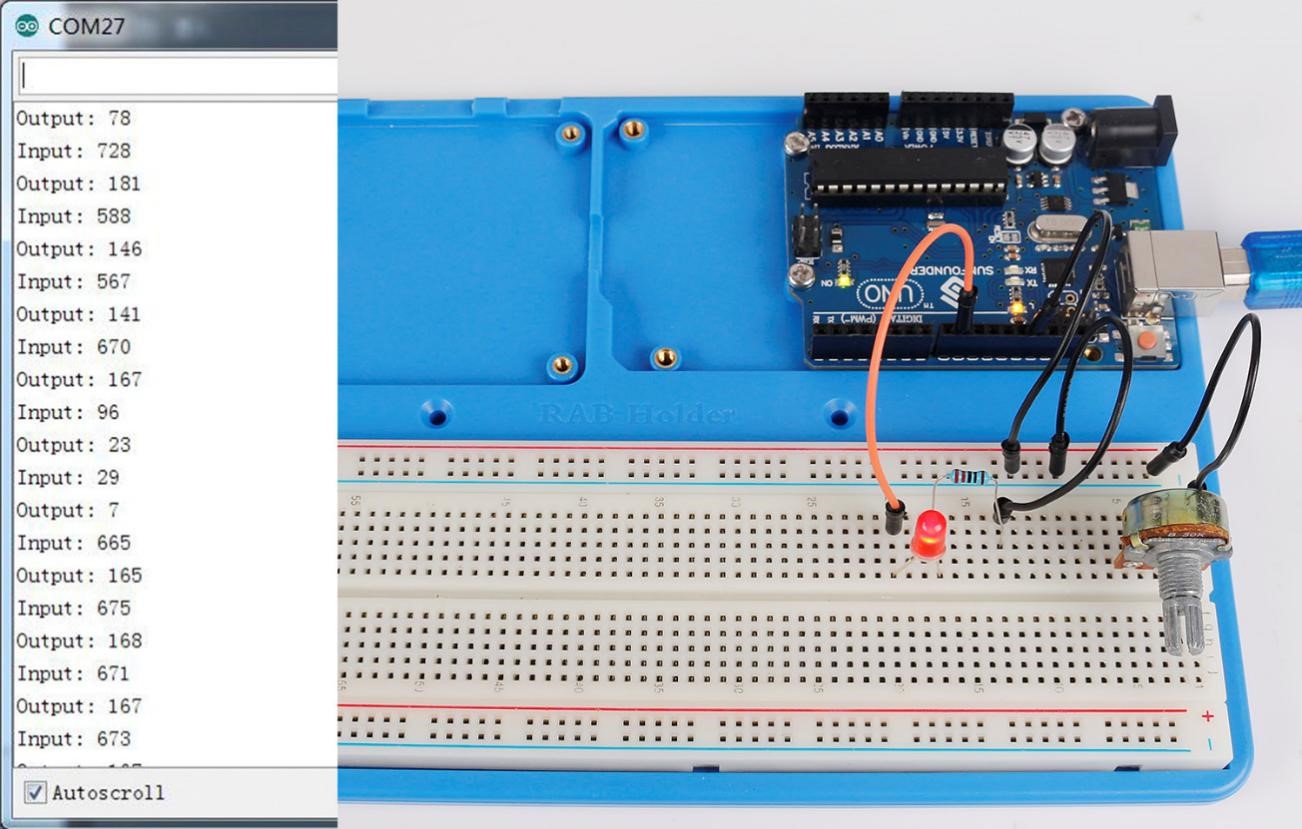
Spin the shaft of the potentiometer and you should see the luminance of the LED change.
If you want to check the corresponding value changes, open the Serial Monitor and the data in the window will change with your spinning of the potentiometer knob.
Experiment Summary
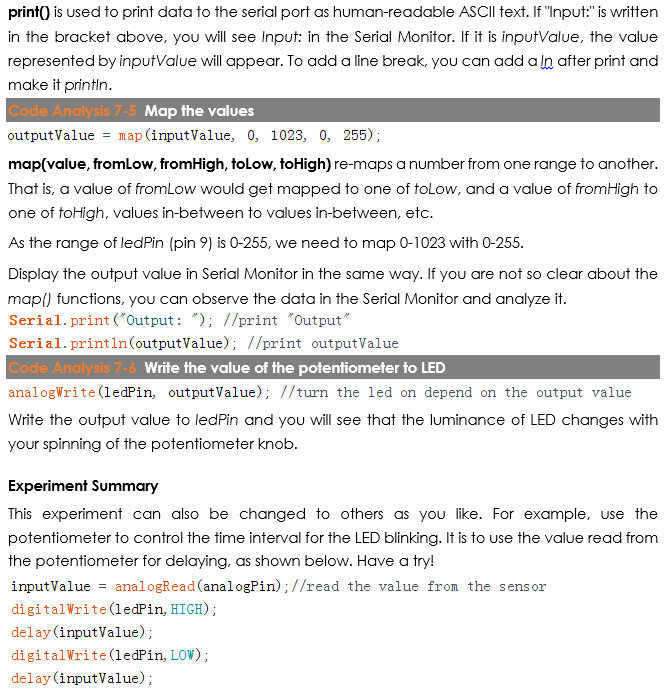
This experiment can also be changed to others as you like. For example, use the potentiometer to control the time interval for the LED blinking. It is to use the value read from the potentiometer for delaying, as shown below. Have a try!
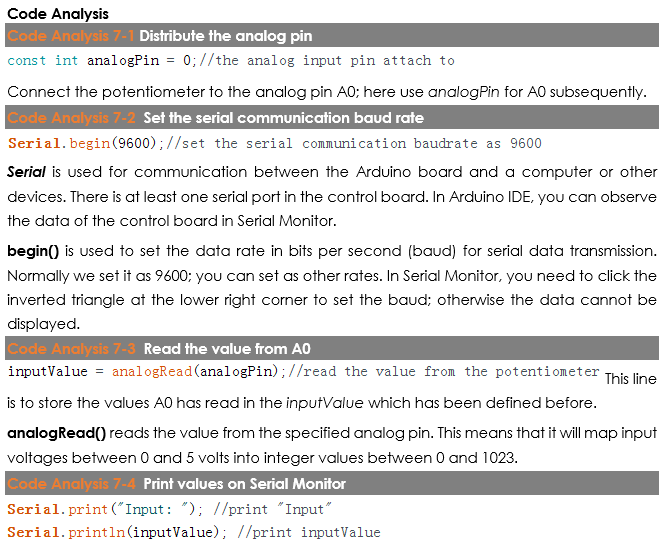
Code
| //Controlling led by potentiometer //Rotate the shaft of the potentiometer and you should see the luminance of the LED change. //Email:support@sunfounder.com //Website:www.sunfounder.com //2015.5.7 /******************************************/ const int analogPin = 0;//the analog input pin attach to const int ledPin = 9;//the led attach to int inputValue = 0;//variable to store the value coming from sensor int outputValue = 0;//variable to store the output value /******************************************/ void setup() { Serial.begin(9600);//set the serial communication baudrate as 9600 } /******************************************/ void loop() { inputValue = analogRead(analogPin);//read the value from the potentiometer Serial.print(“Input: “); //print “Input” Serial.println(inputValue); //print inputValue outputValue = map(inputValue, 0, 1023, 0, 255); //Convert from 0-1023 proportional to the number of a number of from 0 to 255 Serial.print(“Output: “); //print “Output” Serial.println(outputValue); //print outputValue analogWrite(ledPin, outputValue); //turn the LED on depending on the output value delay(1000); } /*******************************************/ |