Introduction
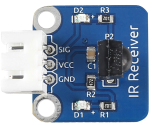
An infrared-receiver (as shown below) is a component which receives infrared signals and can independently receive infrared rays and output signals compatible with TTL level. It is similar with a normal plastic-packaged transistor in size and is suitable for all kinds of infrared remote control and infrared transmission.

Required Components
– 1 * Raspberry Pi
– 1 * Breadboard
– 1 * IR receiver module
– 1 * IR Remote Controller
– 1 * 3-Pin anti-reverse cable
Experimental Principle
In this experiment, send signals to IR receiver by pressing buttons on the IR remote controller. The counter will add 1 every time it receives signals; in other words, the increased number indicates IR signals are received.
The schematic diagram of the module is as shown below:

Experimental Procedures
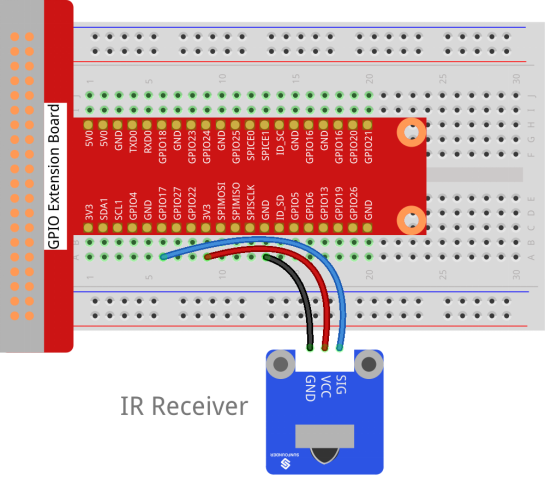
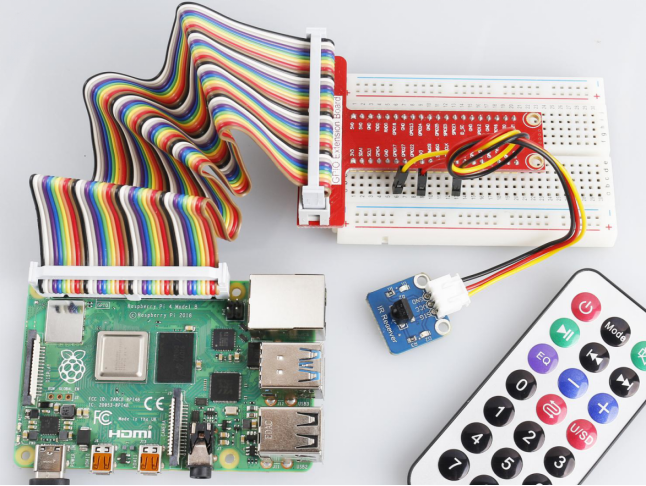
Step 1: Build the circuit.
| Raspberry Pi | GPIO Extension Board | IR Receiver Module |
| GPIO0 | GPIO17 | SIG |
| 3.3V | 3V3 | VCC |
| GND | GND | GND |

For C Users:
Step 2: Change directory.
cd /home/pi/SunFounder_SensorKit_for_RPi2/C/09_ir_receiver/Step 3: Compile.
gcc ir_receiver.c -lwiringPiStep 4: Run.
sudo ./a.outFor Python Users:
Step 2: Change directory.
cd /home/pi/SunFounder_SensorKit_for_RPi2/Python/Step 3: Run.
sudo python3 09_ir_receiver.pyPress any key of the remote. Then you can see the LED on the module blinking, and “Received infrared. cnt = xxx” printed on the screen. “”xxx” means the time you pressed the key(s).

